Add or Remove Users in Your Organization
Organization Admins have the ability to add or remove users in an organization. As an organization admin, you can do this by going to the Organizations button on the left-hand menu once logged into the Cyber Range as shown below.

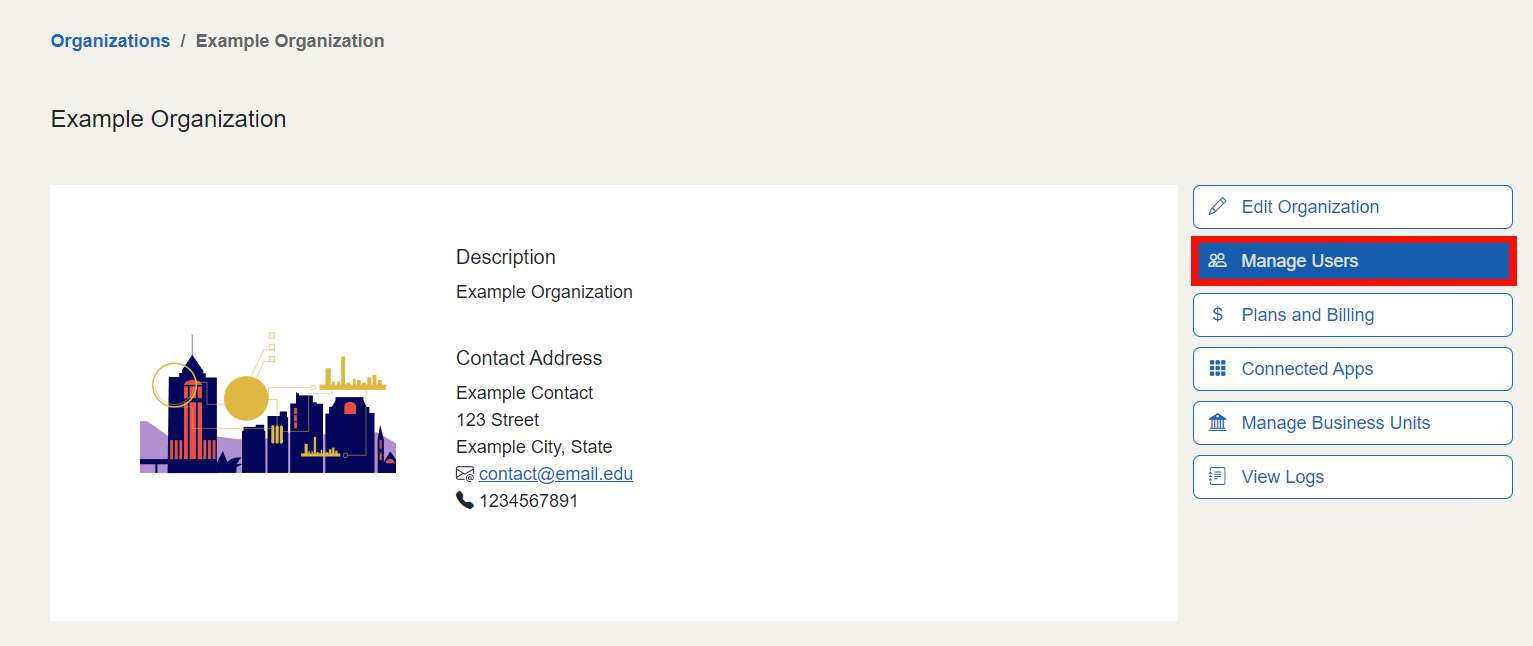
After being directed to the organizations menu, choose the organization you wish to add or remove a member from. This will take you to your organization’s menu where you can view the statistics on your organization’s usages, enrollments, and accounts.
Please find the Manage Users button to the right of your organization’s title to start adding and removing members.
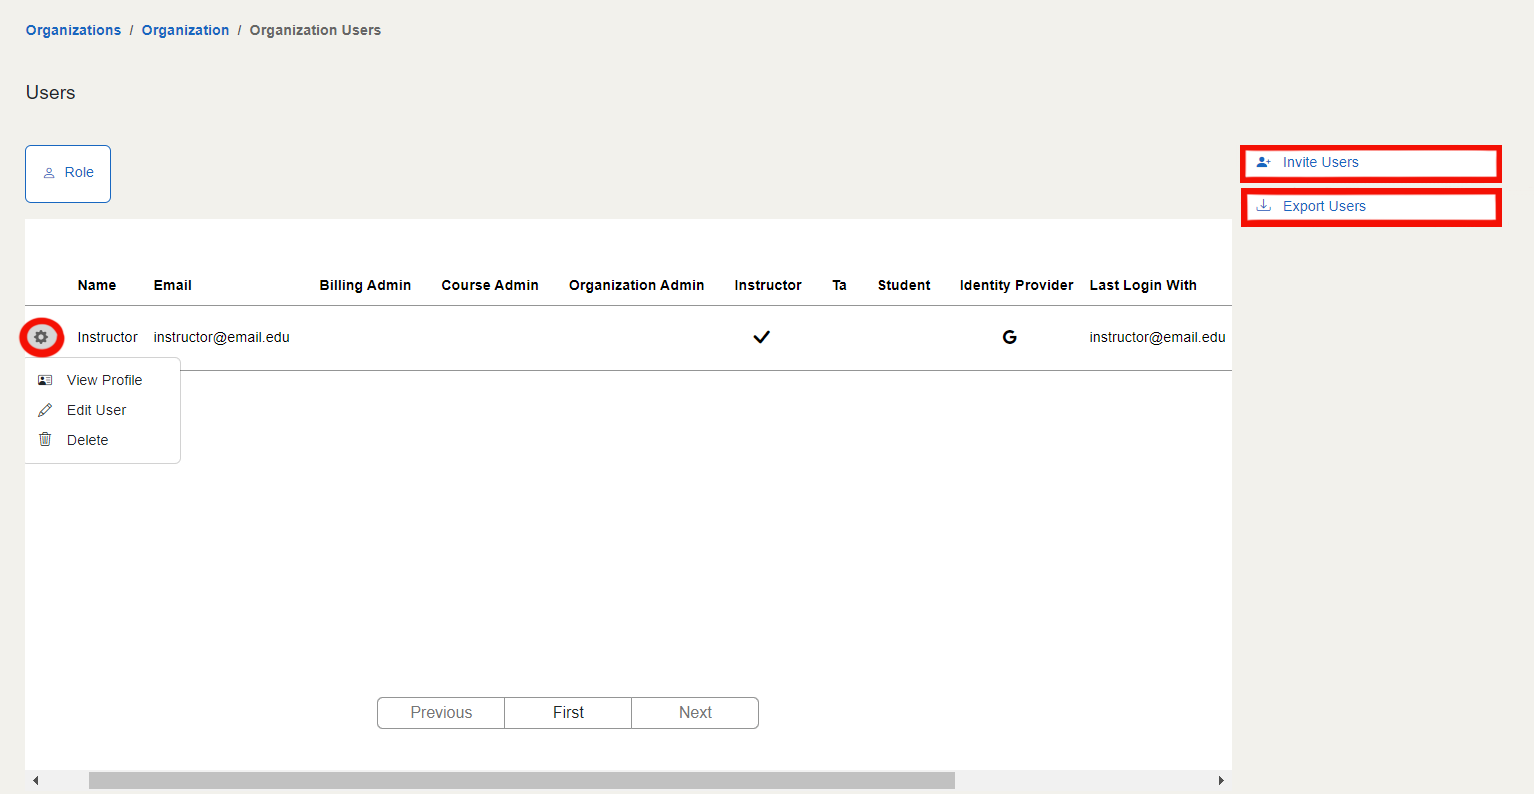
Within the Users page, administrators can view the name, email, roles, and login authentication status of all the members within their organization. To the right of the users table, are the buttons Invite Users, to invite new users to the organization, and Export Users, which exports a spreadsheet of all users as a .csv file.
Next to each user is a gear icon that allows administrators to edit or delete a user.
Note
If a user has a date listed in the "Pending Since" column, this means that the user has not accepted their invitation to your organization. Once a user has followed the invitation link emailed to them, an icon under the “Login With” column will show an icon of the method they used (Gmail or Microsoft).
Have a Question? Contact Support
We're here to help you. If you still have questions after reviewing the information above, please feel free to submit a ticket with our Support Team and we'll get back to you as soon as possible.
Thank You for Your Feedback!