Creating a Course
Abstract
This article will detail the steps needed to create a course in the U.S. Cyber Range. A course admin will be required to approve a course before it is created.
Requesting a Course
-
Click on the Create a Course Button
Once you've logged into the Cyber Range for the first time, you will find an empty course listing:

From here, you can click on the Create a Course button to request a new course.
-
Submit the Course Request
Once you click on the Create a Course button, you can fill out all the fields in the pop-up box shown below. The course name and description are what will be displayed to your students once you've enrolled them. Please set the course's expiration date to shortly after the conclusion of the course as your organization will continue to be charged until the course expires.
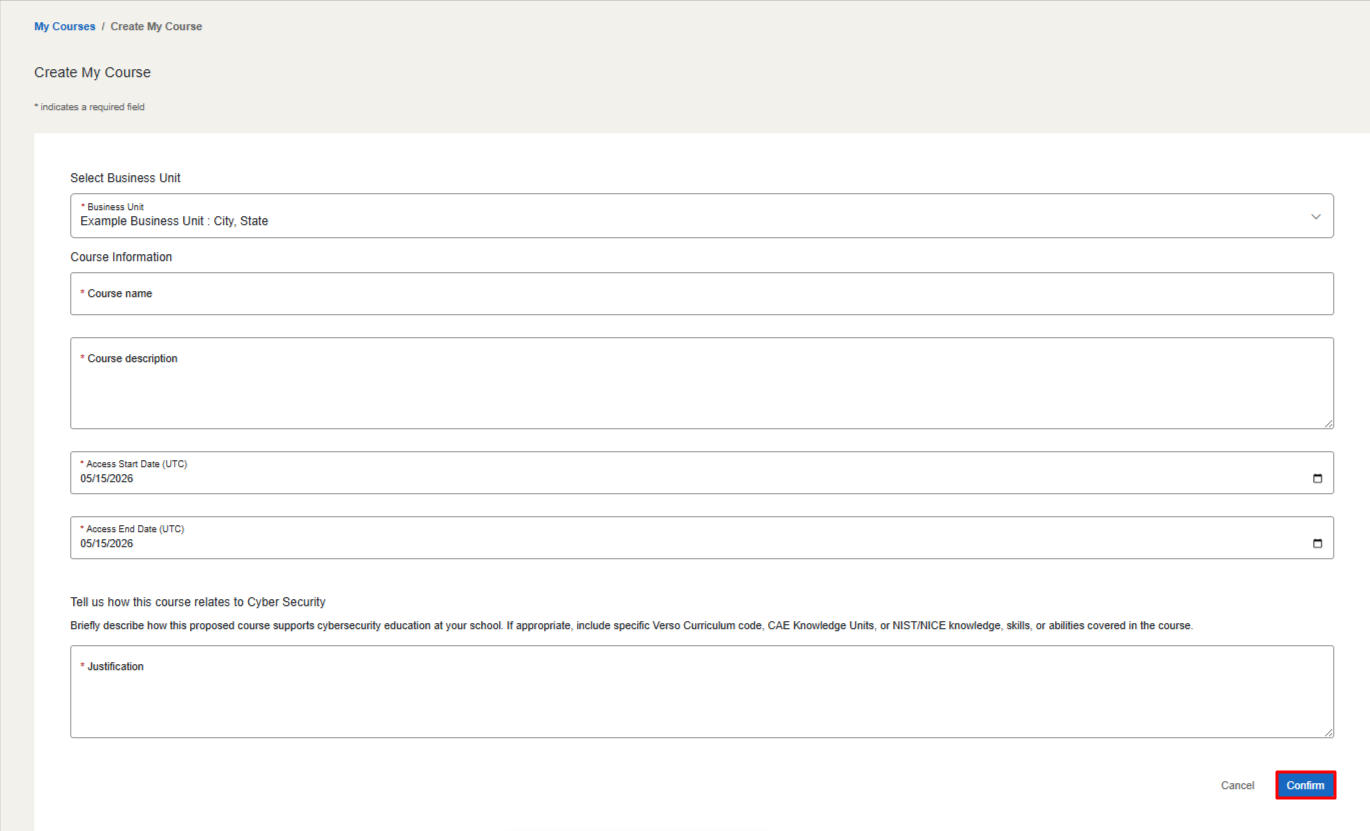
Once you are satisfied with your course details, click on the Confirm button to submit your course request.
-
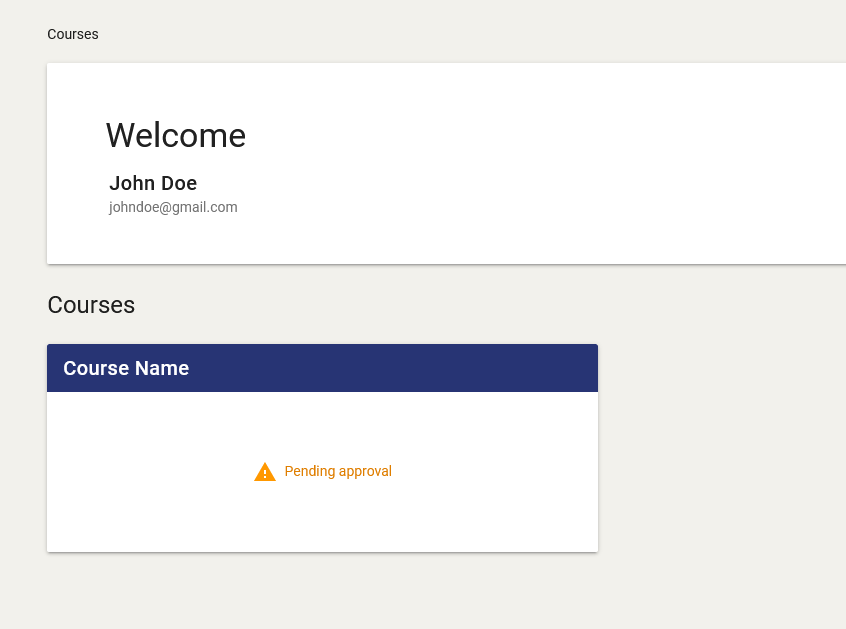
Wait for Approval
After you submit your course request within the Cyber Range, you will find your course pending approval:
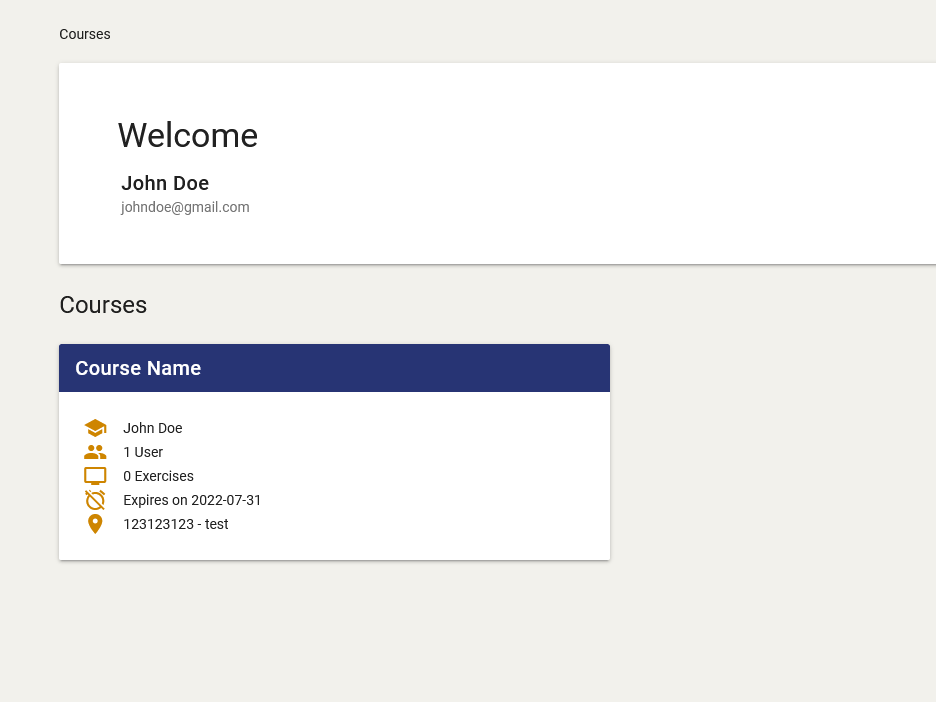
Once it is approved by a course admin, you will receive a confirmation email and find the course accessible:
-
Create Exercise Environments and Invite Users
When you click on your approved course, you will find the course details listed. Now you can create exercise environments and invite users to join your course.
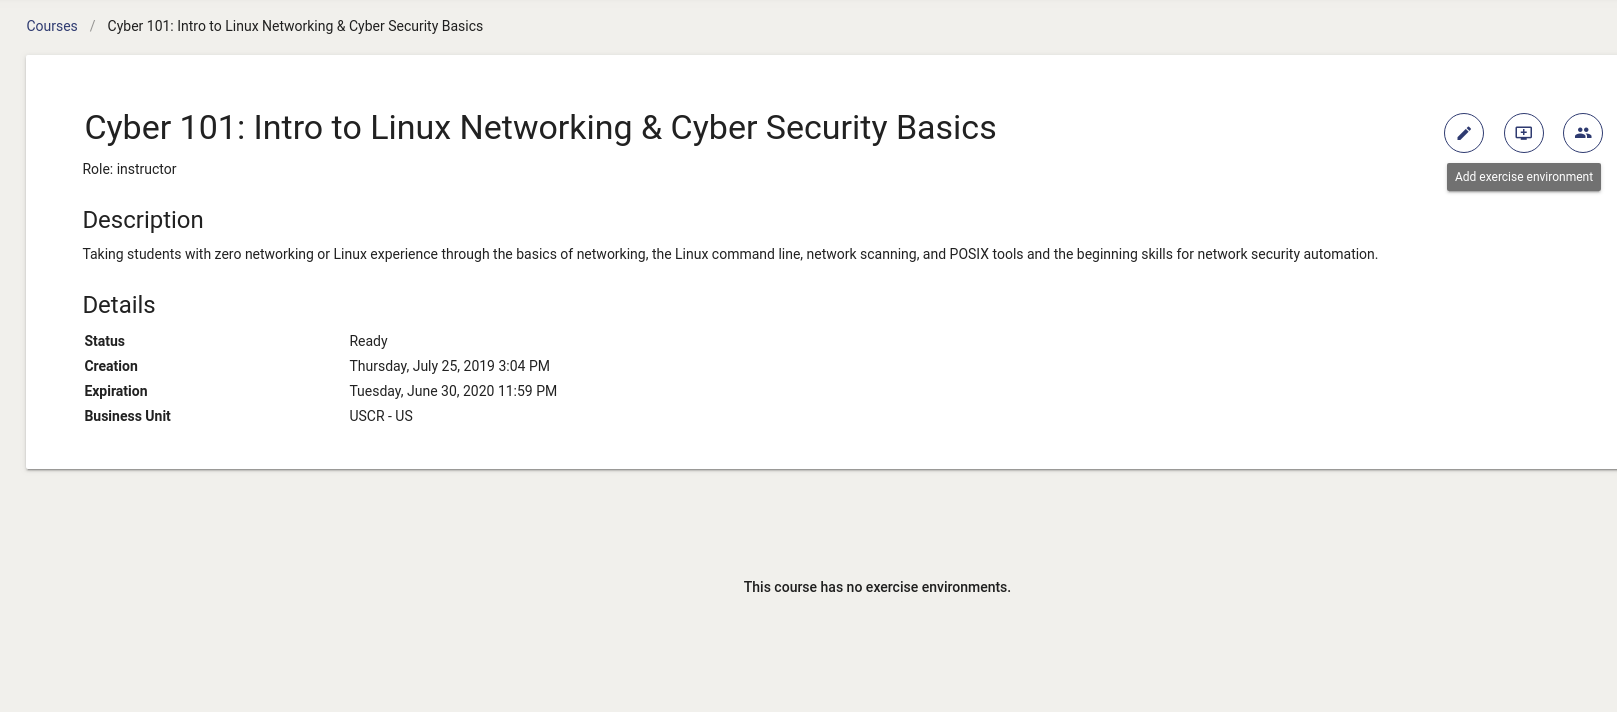
Please refer to the article titled Creating Exercise Environments to learn how to add exercises to your course, and refer to the article titled Inviting Users to Your Course to learn how to invite users to your course.
Once the course is approved, reserved enrollments can be set while creating the course invitation code; this will create several pre-warmed exercise environments to reduce each environment's startup time. Please refer to the article titled Cyber Range Pool Model for more information.
Default Course Expiration Dates
Below are the default end dates for courses based on when the course is created:
| Course Created In | Default End Date |
|---|---|
| January | May 15th |
| February | May 15th |
| March | May 15th |
| April | May 15th |
| May | Aug 15th |
| June | Aug 15th |
| July | Aug 15th |
| August | Dec 15th |
| September | Dec 15th |
| October | Dec 15th |
| November | Dec 15th |
| December 1st - 14th | Dec 15th |
| December 15th - 31st | May 15th of next year |
Note
To learn how to change a course's expiration date, please refer to How Do You Change a Course Expiration Date? for more information.
Have a Question? Contact Support
Important
Students, please reach out to your instructor who can submit a ticket to our Support Team on your behalf.
We're here to help you. If you still have questions after reviewing the information above, please feel free to submit a ticket with our Support Team and we'll get back to you as soon as possible.
Thank You for Your Feedback!