Shared Networks Overview
Important
These environments are only available to customers subscribed to the Flex Rate Plan.
What Are Shared Networks?
Shared networks allow for more complex networking structures with group and team-level subnet capabilities, firewalls, as well as unique DNS records for each team’s resources. These enhanced capabilities allow for teams to interact with each other in realistic attack-defense or other interactive exercises with each other.
Scenarios you can practice using shared networks include, but are not limited to, the following:
- Red vs Blue
- Man-in-the-Middle
- Dynamic Capture The Flag style exercises
Note
If you’d like to make a copy of a shared network environment, please contact support so that we can assist in copying that environment with you. We also recommend reading over our Avoiding Common Issues with Copying Exercise Environment Images article to help prevent potential errors.
Create a Shared Networks Environment
To add the shared networks version of an environment to your course, you can follow the Creating an Environment to Your Course section until you reach step 4. Once you've reached step 4, you will be presented with options to configure the environment.
Note
If the "Networks" section doesn't appear when creating an exercise environment, the shared networks feature is not currently available for that environment.
-
Underneath the OS Version, you will find the "Networks" section.
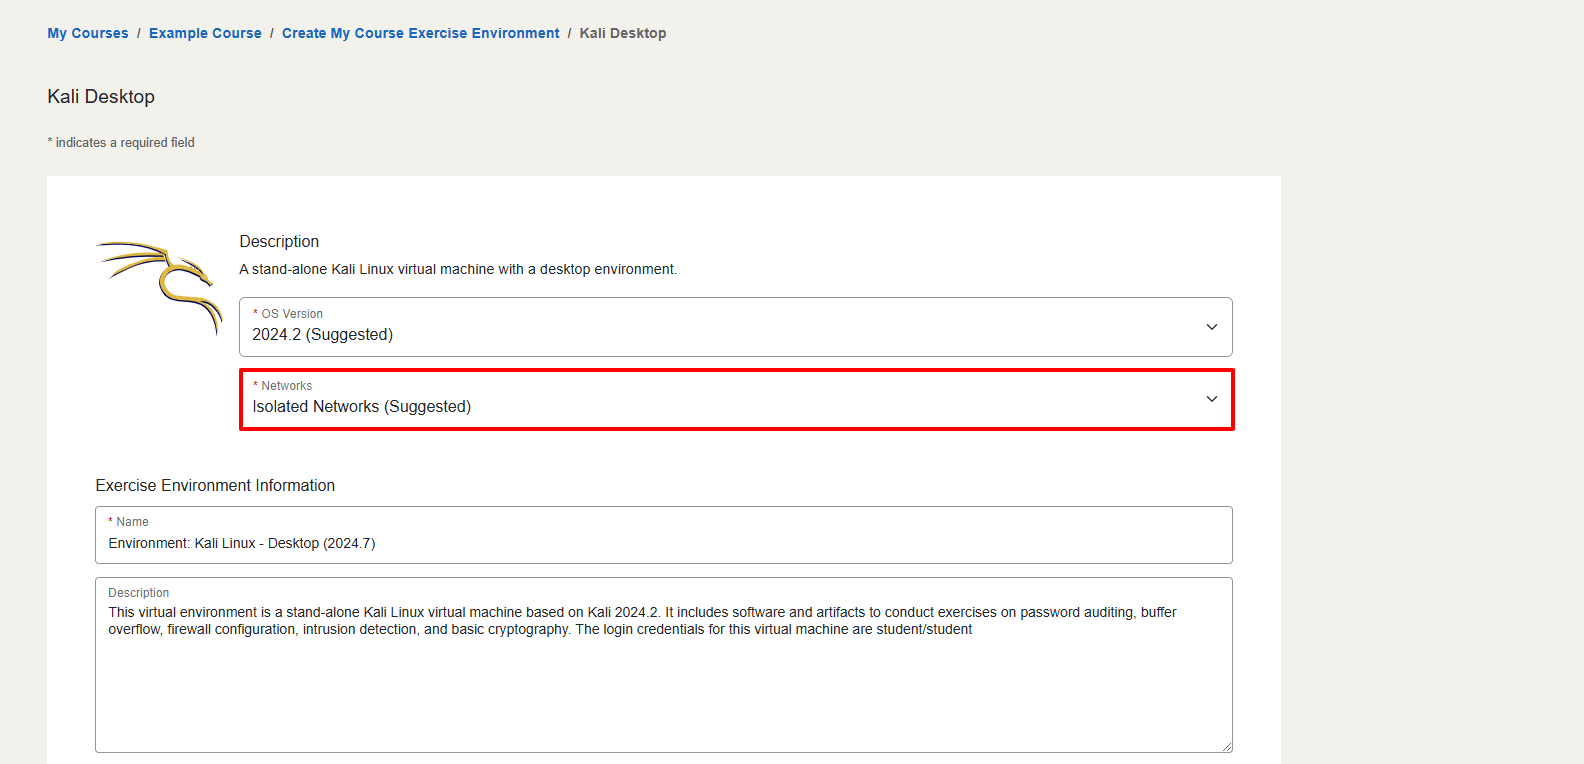
-
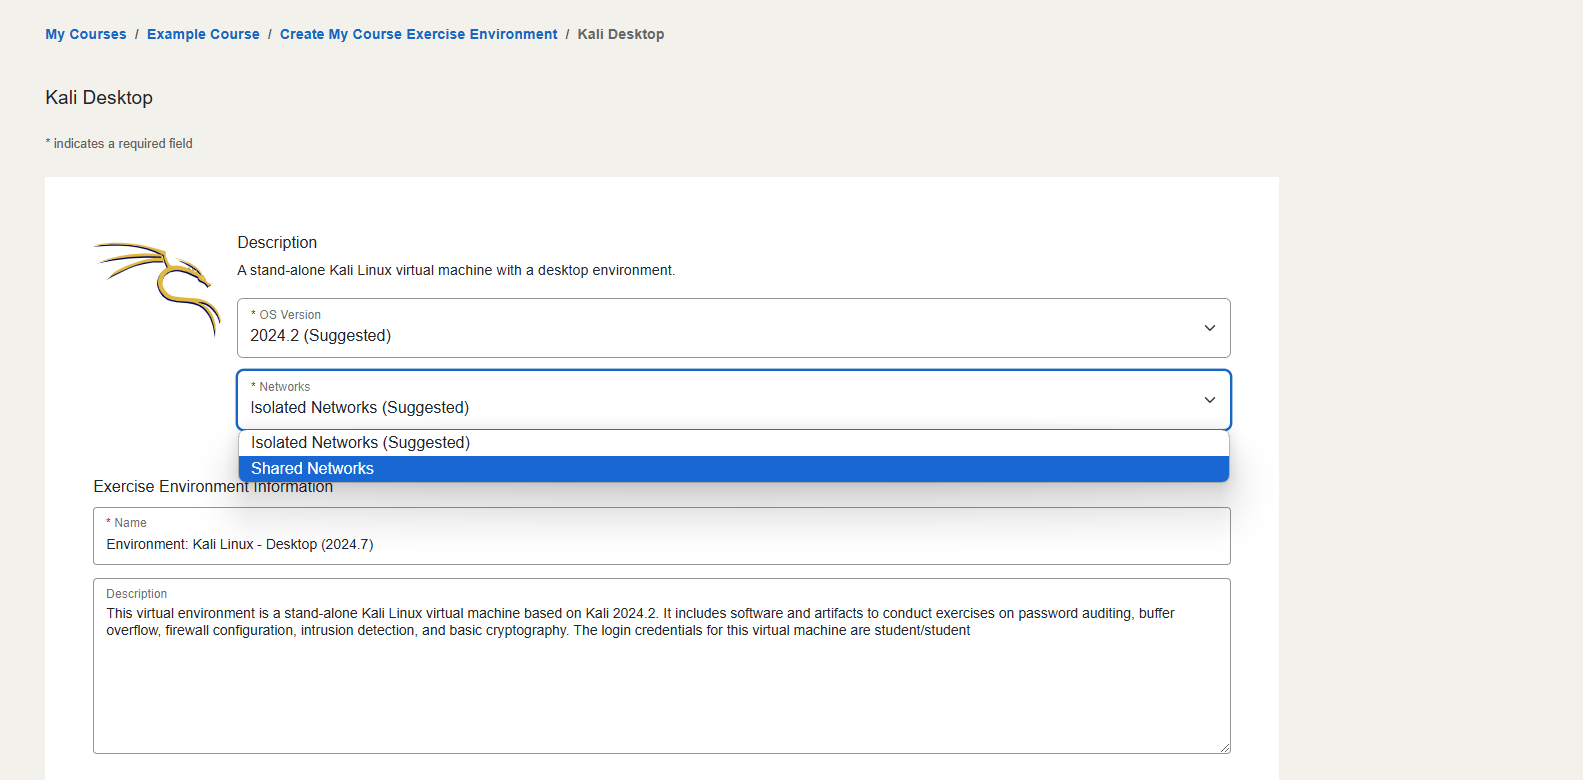
Once you click on this section, you'll have the choice between Isolated Networks and Shared Networks. Select the "Shared Networks" option before you press "Confirm" to enable this feature.
Inter-Team Connectivity
Note
Inter-team Connectivity is only available in our OPNSense Firewall with Multiple Networks and in Kali environments set to Shared Networks. For more information about whether or not this feature is supported in your environment, please check the exercise environment description.
Shared network environments have a unifying group subnet that all teams have a presence on, instructors can control inter-team connectivity, empowering them to allow or prevent network traffic between teams. Inter-team connectivity will be disabled by default upon group creation, restricting user view to their individual "bubble" of one or more virtual machines. Once inter-team connectivity has been enabled, users can interact with each other’s team-level subnets openly which is restricted only by the software configurations of the virtual machines and/or firewalls. Review the exercise environment description and/or courseware to determine if the default state of the environment includes vulnerable-by-default machines.
Enable Inter-Team Connectivity
-
Towards the bottom of the environment page, click on the “Toggle Inter-Team Connectivity” button.

-
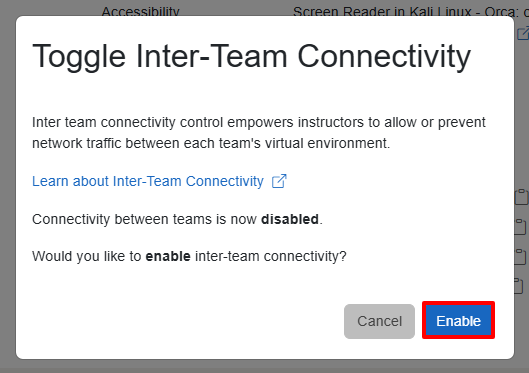
A “Toggle Inter-Team Connectivity” pop-up will appear. Select the “Enable” button.
-
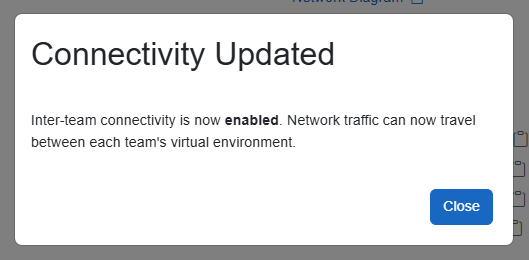
A “Communication Updated” pop-up will appear once the communication has been successfully enabled.
Disable Inter-Team Connectivity
-
Towards the bottom of the environment page, click on the “Toggle Inter-Team Connectivity” button.

-
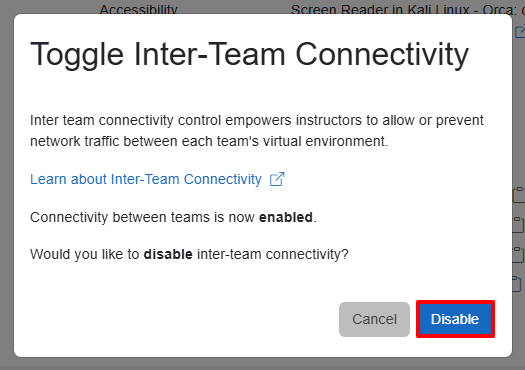
A “Toggle Inter-Team Connectivity” pop-up will appear. Click on the “Disable” button.
-
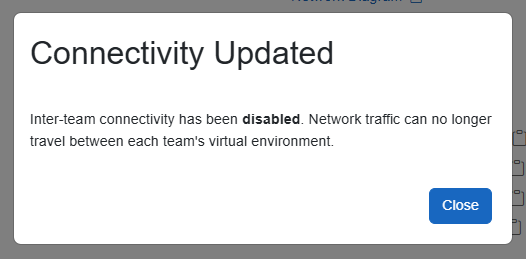
A “Communication Updated” pop-up will appear once the communication has been successfully disabled.
Credentials
View User Credentials
As an instructor, you can click on the “View Credentials” button (denoted with a key icon) that's next to a student’s name to access the list of initial credentials assigned to each access point.

View Your Credentials
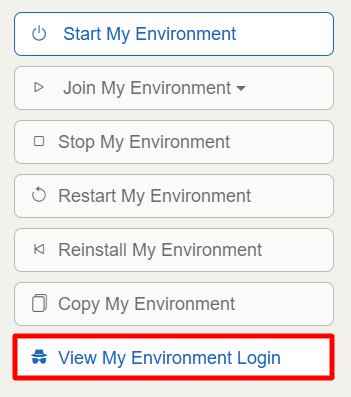
Any user can click on the “View My Environment Login” button and access the credentials assigned to their own access points.
DNS Records
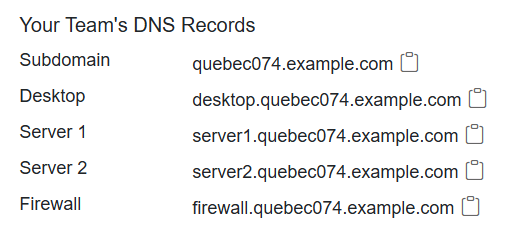
Each virtual machine is assigned one or more unique DNS records that any team can query. Users can view DNS records for themselves, however, they do not know the DNS records of other teams and will not be able to easily identify another's DNS records without assistance. The instructor is provided the choice of sharing DNS records if they would like users to be able to find each other with that lookup.
View DNS Records
Your DNS records will be located in the middle of the screen under the “Your Team's DNS Records” section.
Export DNS Records
If you’d like to share the current DNS records assigned to each team, you can export the list from the course.
Tip
Each user will be assigned a unique subdomain.
-
Towards the bottom of the environment page, click on the “Export DNS Records” button

-
Once our system has collected the current DNS records, you will be prompted to save, or automatically download, a CSV file titled “exported_dns_records” depending on your browser or system configuration. The CSV file should appear similar to the one in the image below.

Have a Question? Contact Support
We're here to help you. If you still have questions after reviewing the information above, please feel free to submit a ticket with our Support Team and we'll get back to you as soon as possible.
Thank You for Your Feedback!