How to Create a Business Unit for Organization Admins
Abstract
This article will guide organization admins through the process of creating a business unit for their organization. Please refer to the article titled What is a Business Unit? to learn more about business units in the Cyber Range.
Before inviting users to an organization, the Organization Admin must create at least one business unit. This can be accomplished when inviting the first user to join your organization. If admins are inviting users from different departments or locations, they may want to create multiple business units for their organization. However, this is completely up to the organization admin. Most organizations already have a business unit created during the organization setup by the U.S. Cyber Range team. To create a new business unit, please follow the steps below.
-
Login to the U.S. Cyber Range and select an Organization
-
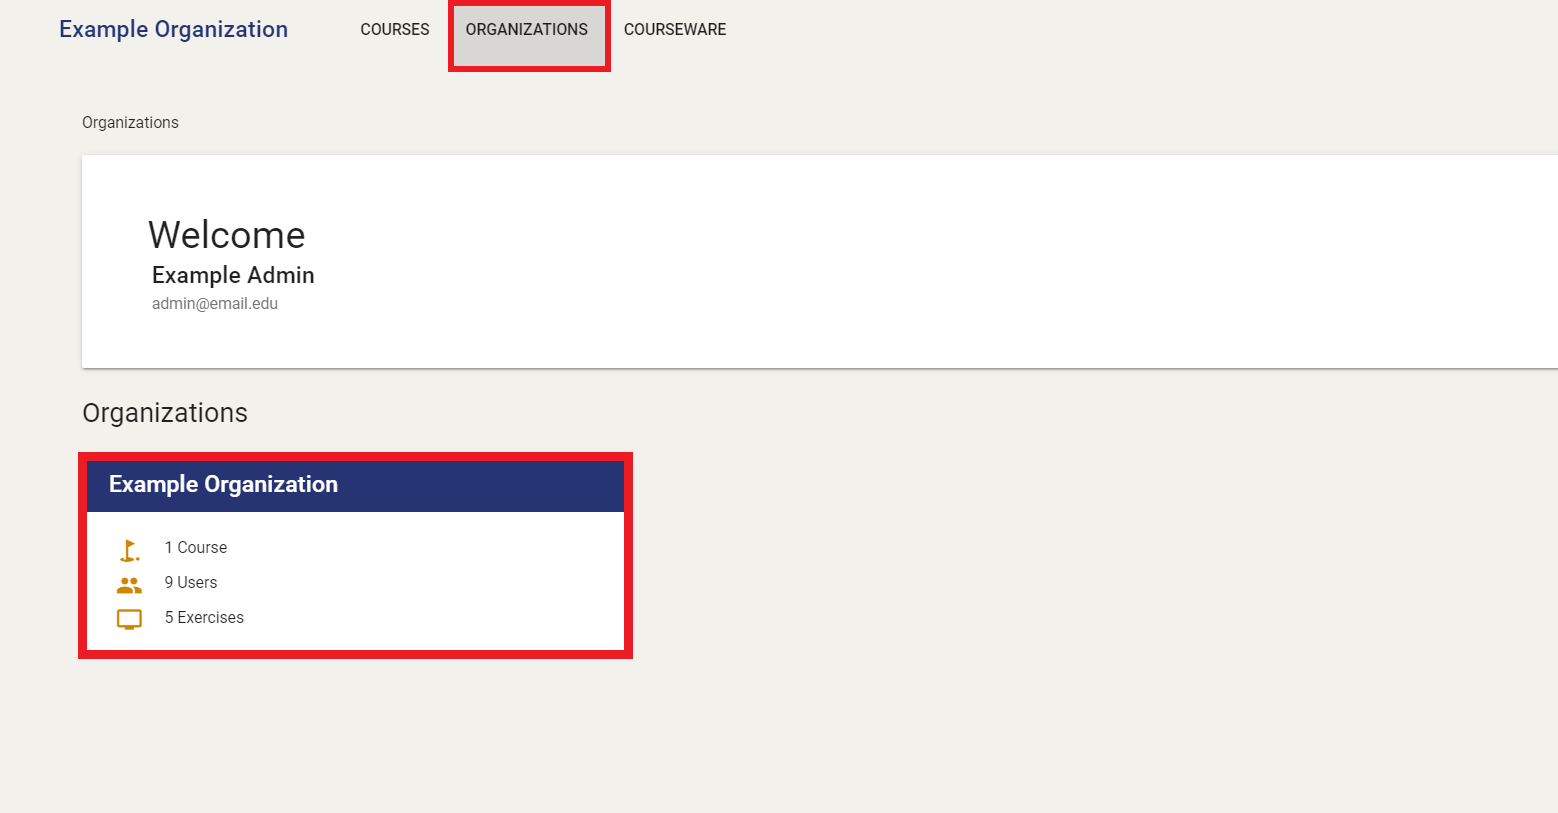
Login to the U.S. Cyber Range and click on the Organizations button at the left of the page.
-
Next, please select your organization for which you would like to create a business unit.
-
-
Open the Invite a User Form
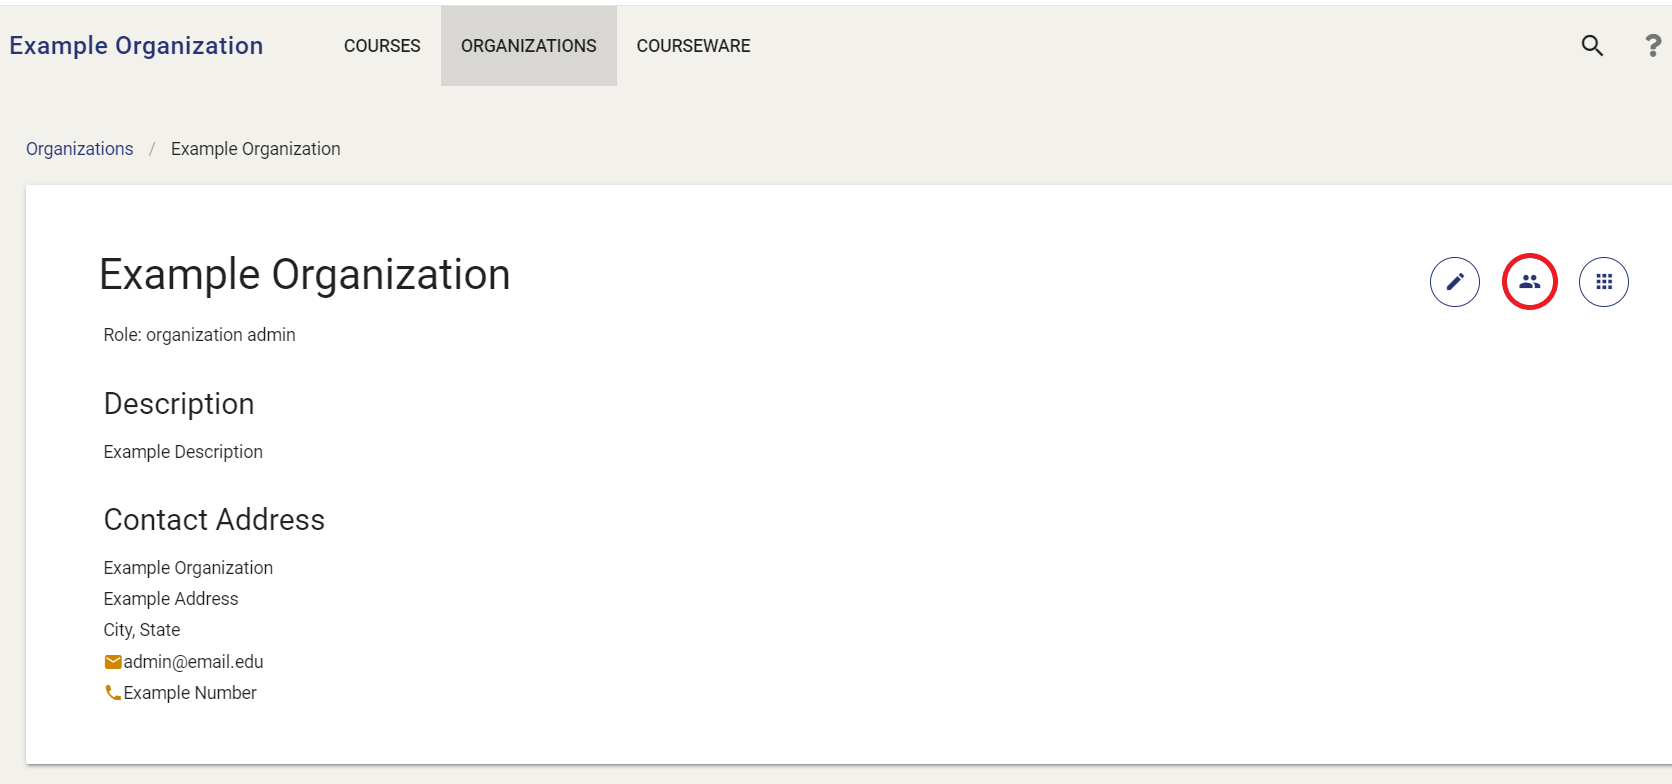
- To open the Invite an Organization User form, please click on the Manage Users button.
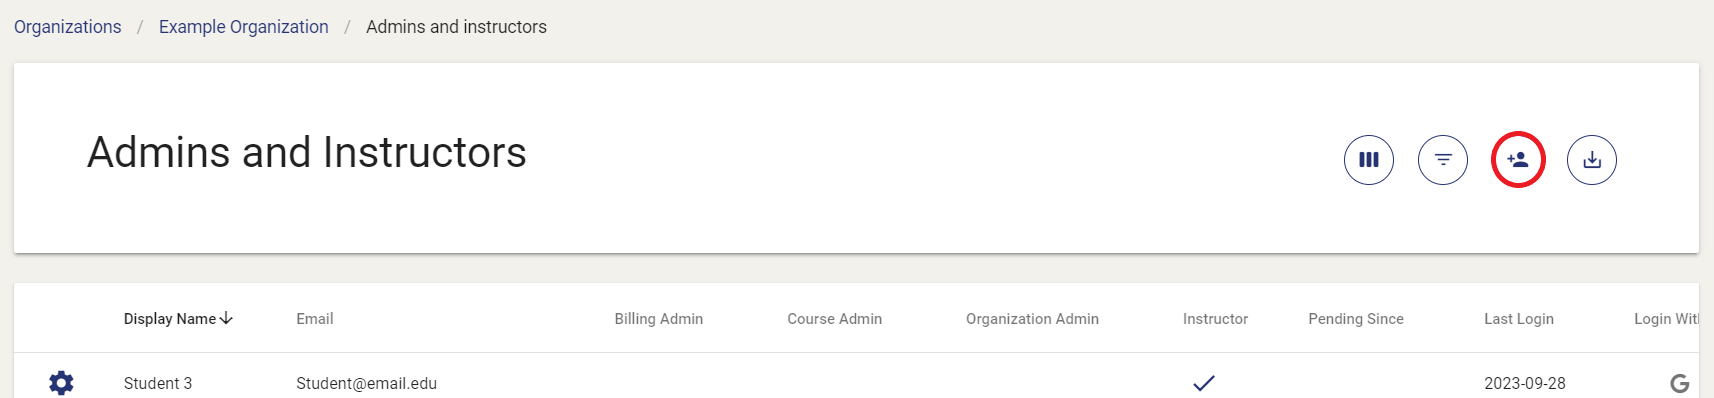
- Next, please click on the Invite Users icon.
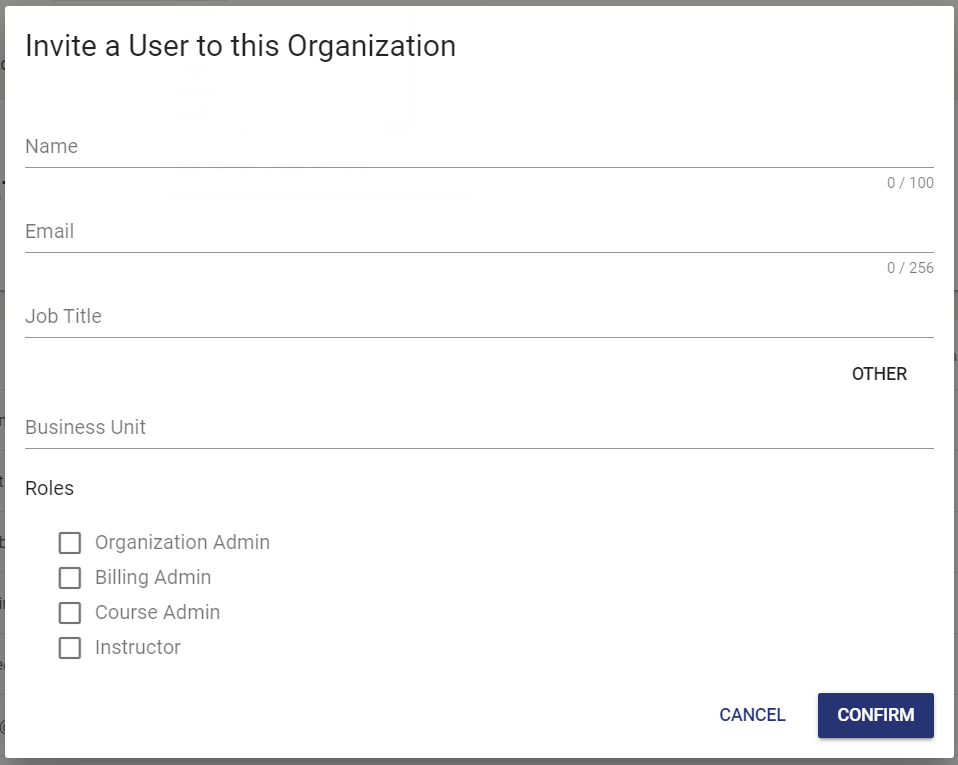
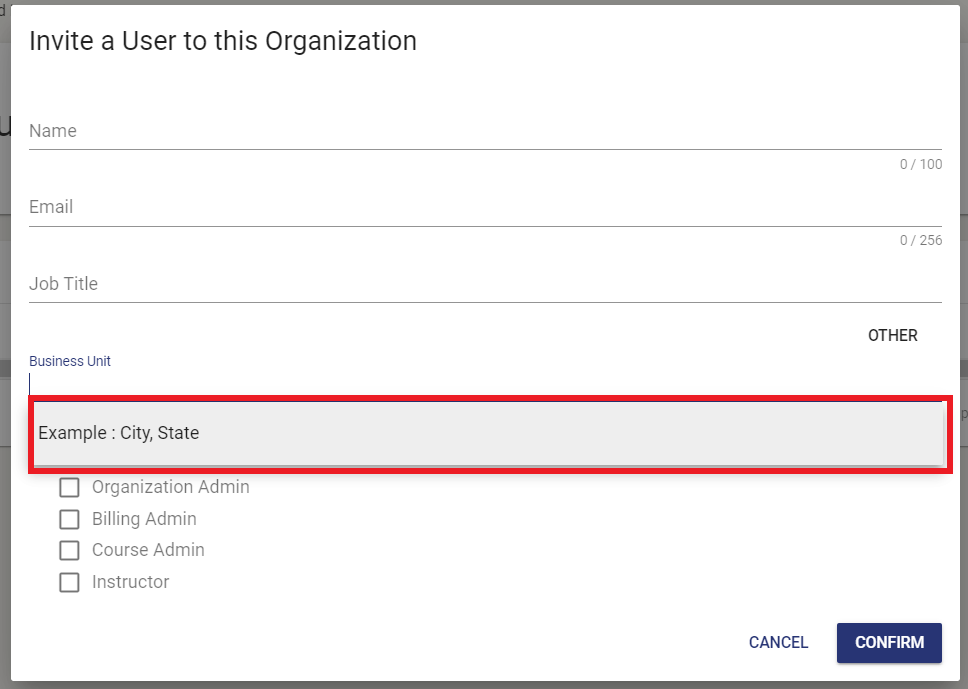
- A form allowing you to invite a user to your organization will then appear, as shown in the example below.
-
Create a New Business Unit
- Once you have successfully opened the Invite an Organization User form, you may then select Existing Business Units or you may click on New Business Unit to create a new unit for your organization. For this tutorial, we will be creating a new business unit by clicking on New Business Unit.
Note
If you do not have any existing business units, you must click on New Business Unit to create a new one.
-
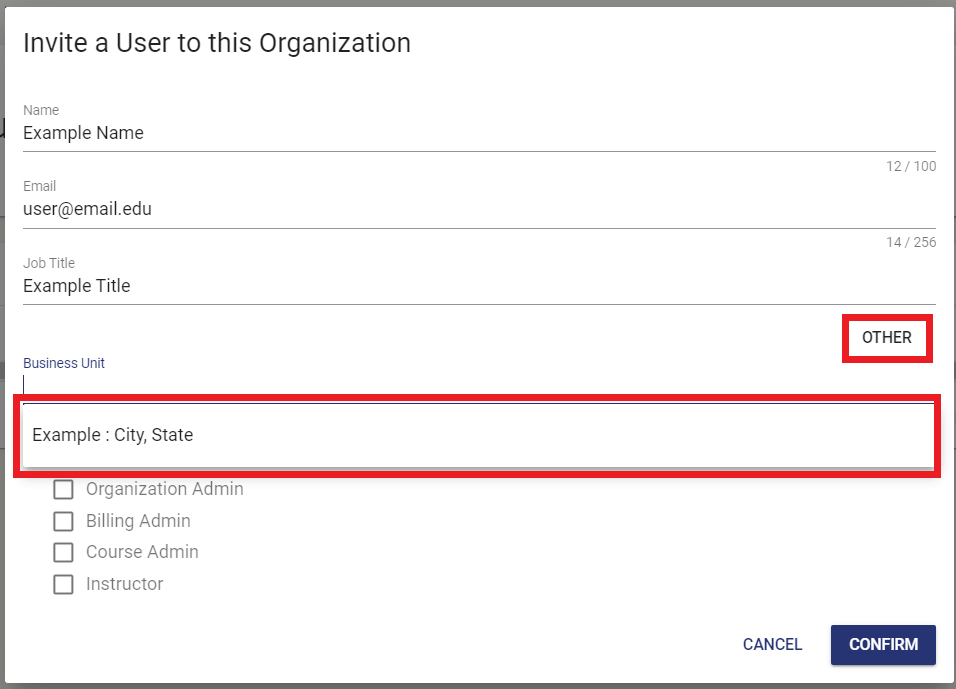
After you have clicked on New Business Unit, you will encounter three fields to set up your business unit. These are:
- Name: The title of your business unit (e.g. U.S. Cyber Range).
- Region: The region of your business unit. Some organizations may have multiple regions where employees or students are located. The U.S. Cyber Range typically uses the format of city followed by state (e.g. Blacksburg, VA).
- Category: The type of business unit you are creating (e.g. Government, University, Commercial, etc.).
-
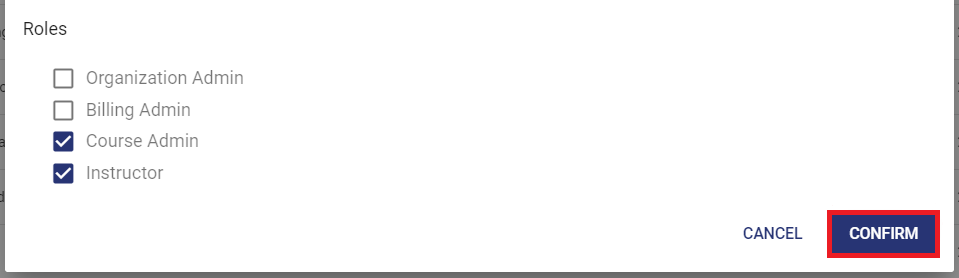
Once you have completely filled out the form, please click on CONFIRM to send the invitation.
- The business unit is created once the user has accepted the U.S. Cyber Range email invitation. You can then choose the business unit by clicking "Existing Business Units" when inviting subsequent users to join the organization. After the user has accepted their account invitation, the new business unit will be added to the dropdown list, as shown in the example below.
- At this point, your new business unit has now been created and can be used when inviting other users or requesting a course.
Have a Question? Contact Support
We're here to help you. If you still have questions after reviewing the information above, please feel free to submit a ticket with our Support Team and we'll get back to you as soon as possible.
Thank You for Your Feedback!