Setting Cloud CTF Start and End Times - Admin/Assistant
Abstract
This article will guide you through the process of setting start and end times for your Cloud CTF environment. If you have not yet created a Cloud CTF environment, please refer to the article titled Creating a Cloud CTF Environment and the section titled Launching a Cloud CTF Environment for more information.
What are Start and End Times in Cloud CTF?
CTF Admins have the ability to set start and end times in their Cloud CTF environments to control the lifespan of their competitions. The settings for this feature can be found in the Admins panel of your Cloud CTF environment. Please refer to the section titled Cloud CTF Roles for more information on Cloud CTF roles.
How to Set Start and End Times
-
Log in to the U.S. Cyber Range Exercise Area. Please refer to the article titled How to Login to the Cyber Range for login assistance.
-
Launch your Cloud CTF environment. Please refer to the section titled Launching Your Cloud CTF Environment for assistance. If you do not have a Cloud CTF environment, please refer to the article titled Creating a Cloud CTF Environment to get started.
-
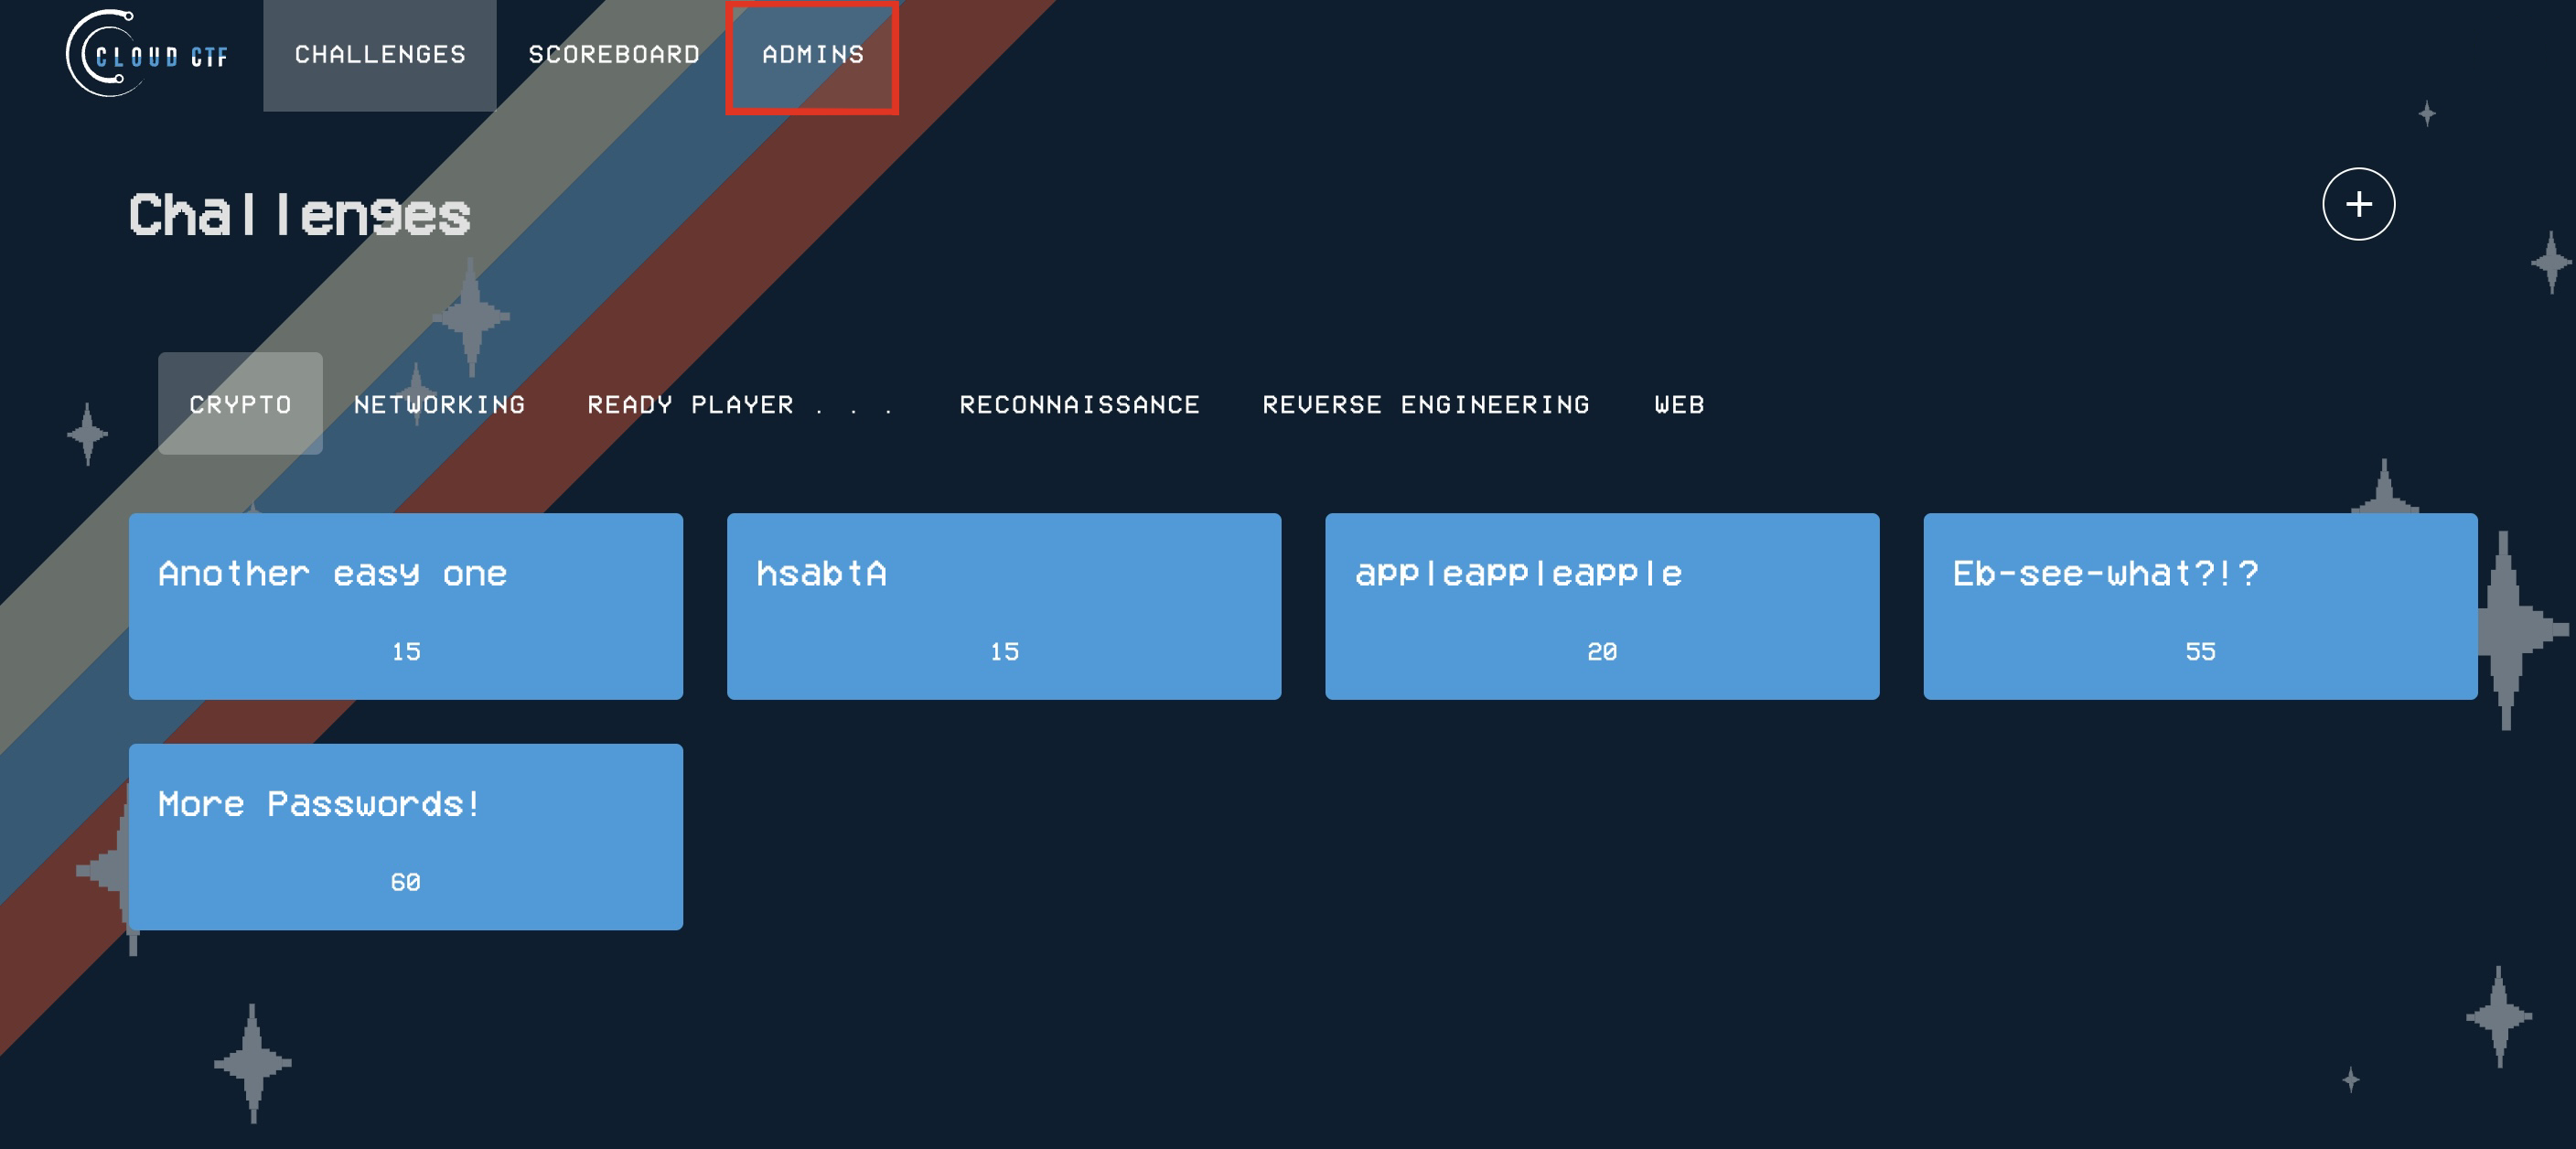
Once you have successfully entered your Cloud CTF environment, navigate to the Admins panel as shown in the image below.
-
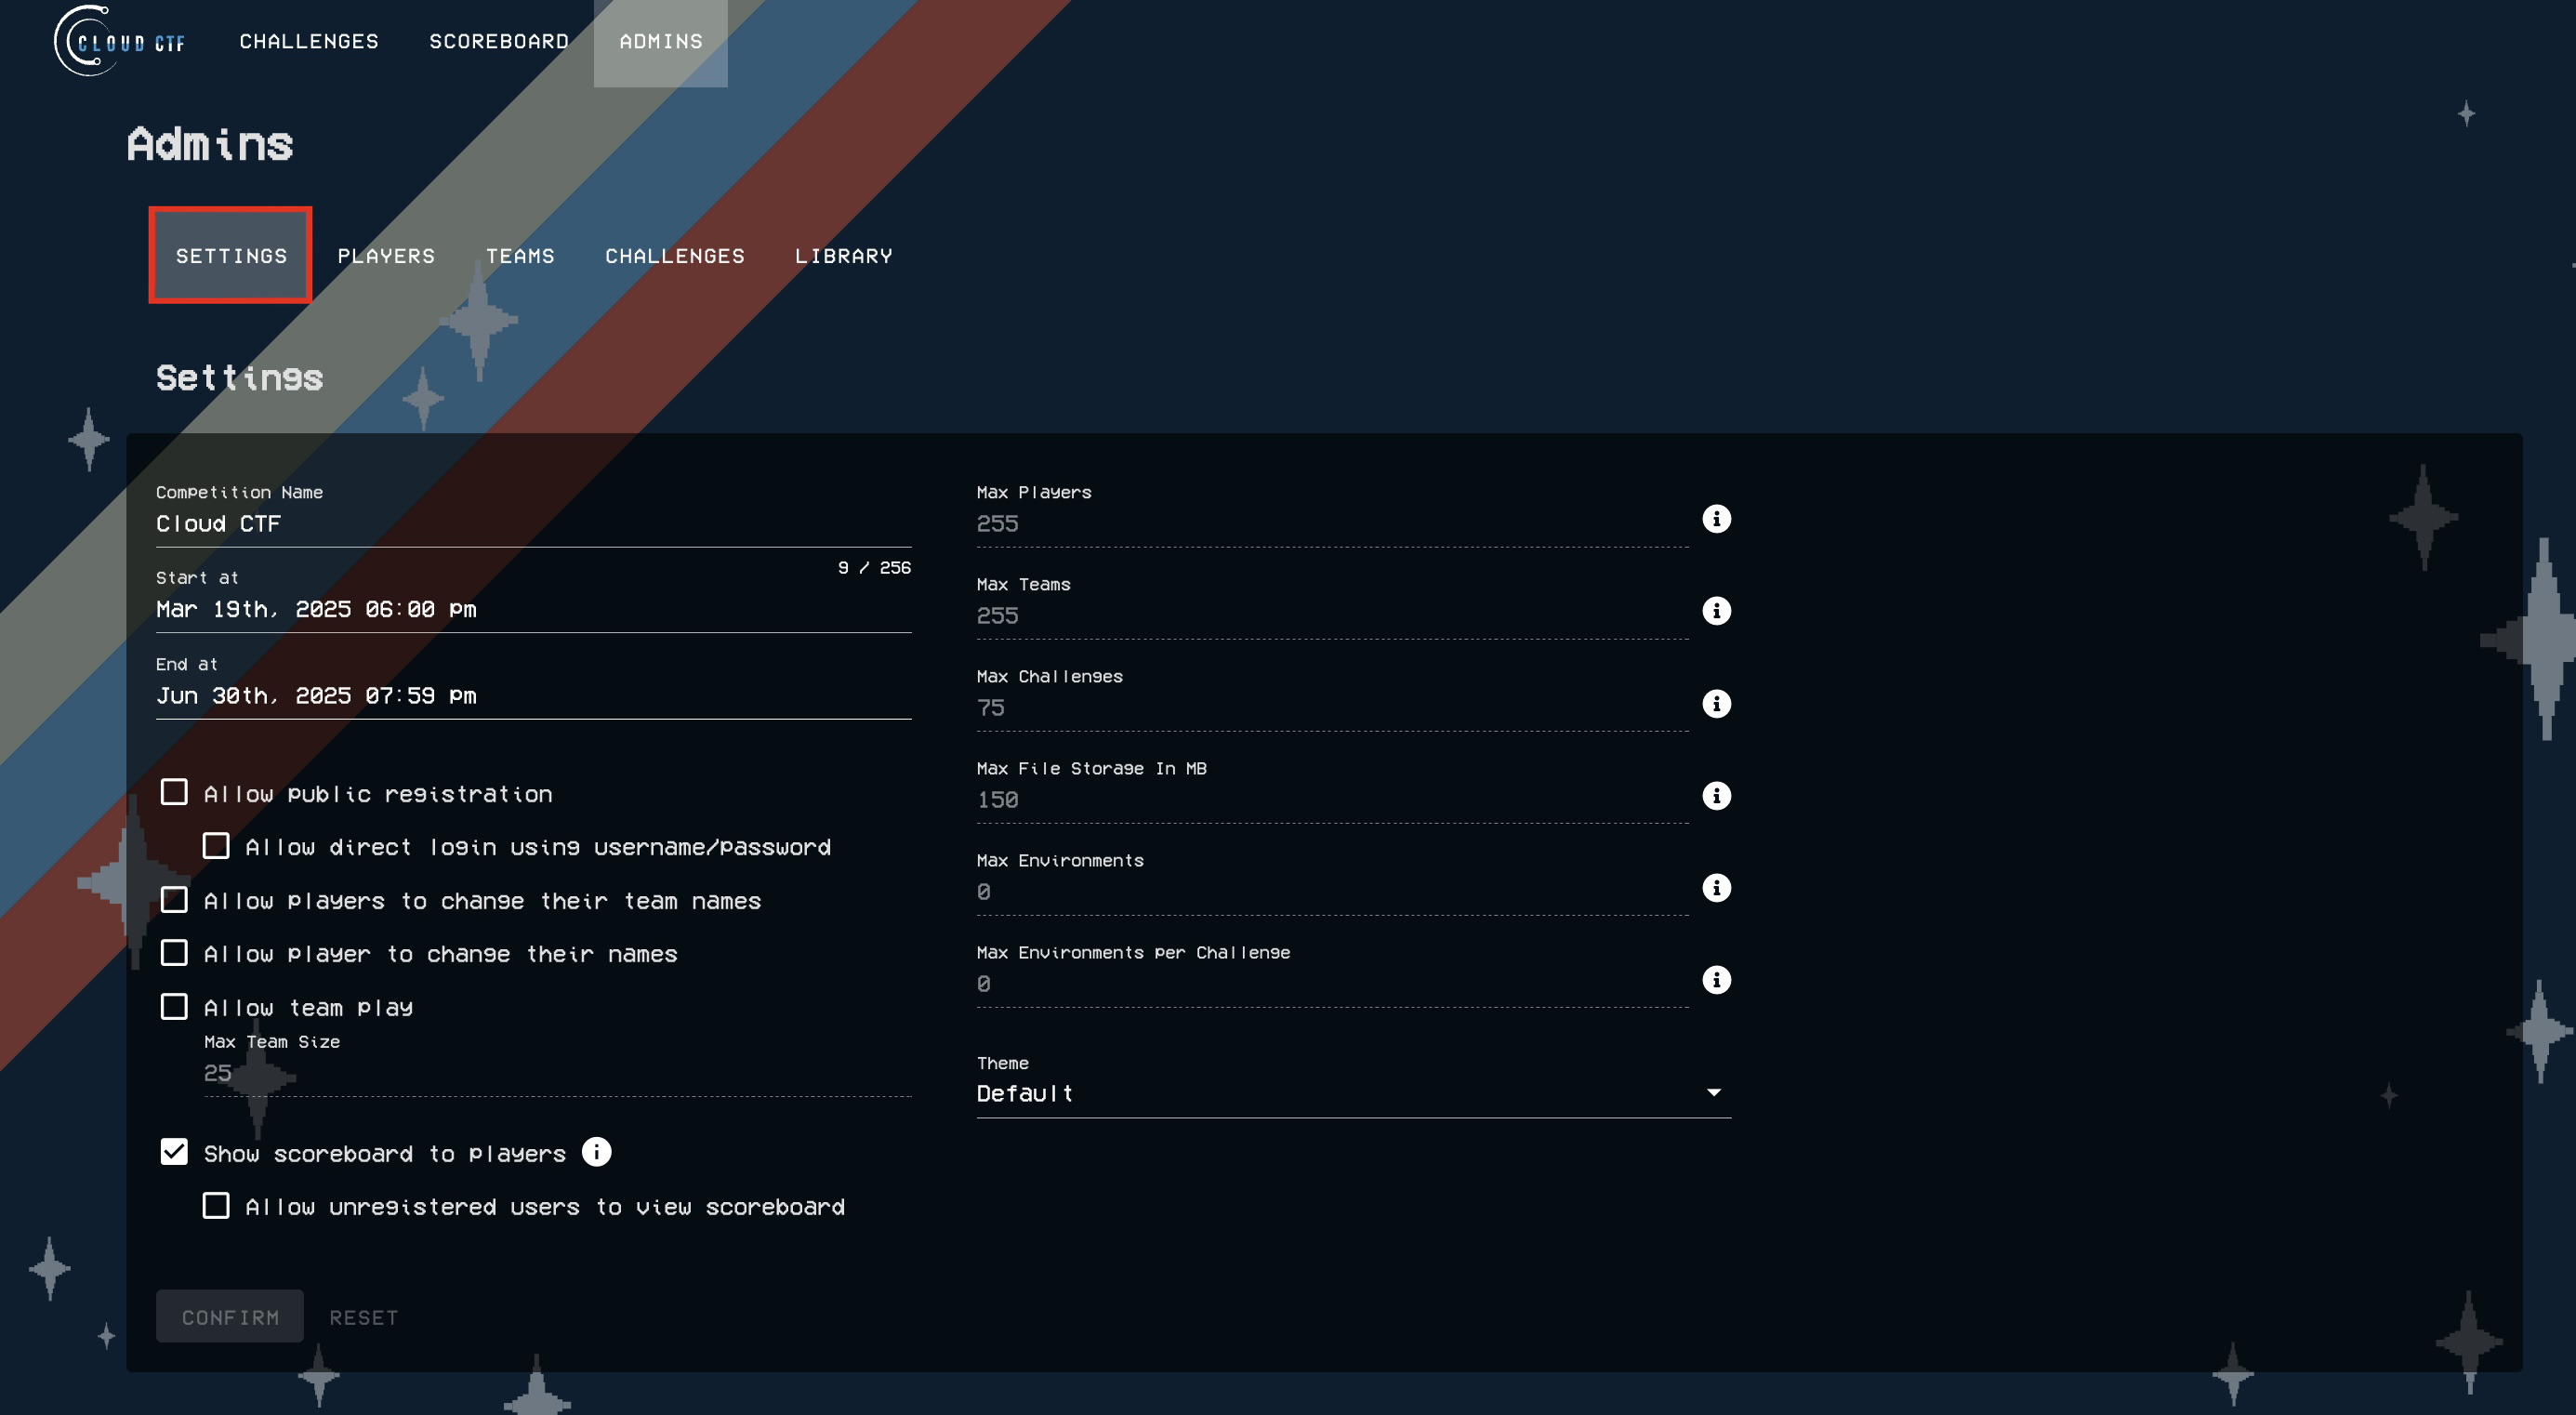
Next, click on the Settings tab of the Admins panel.
-
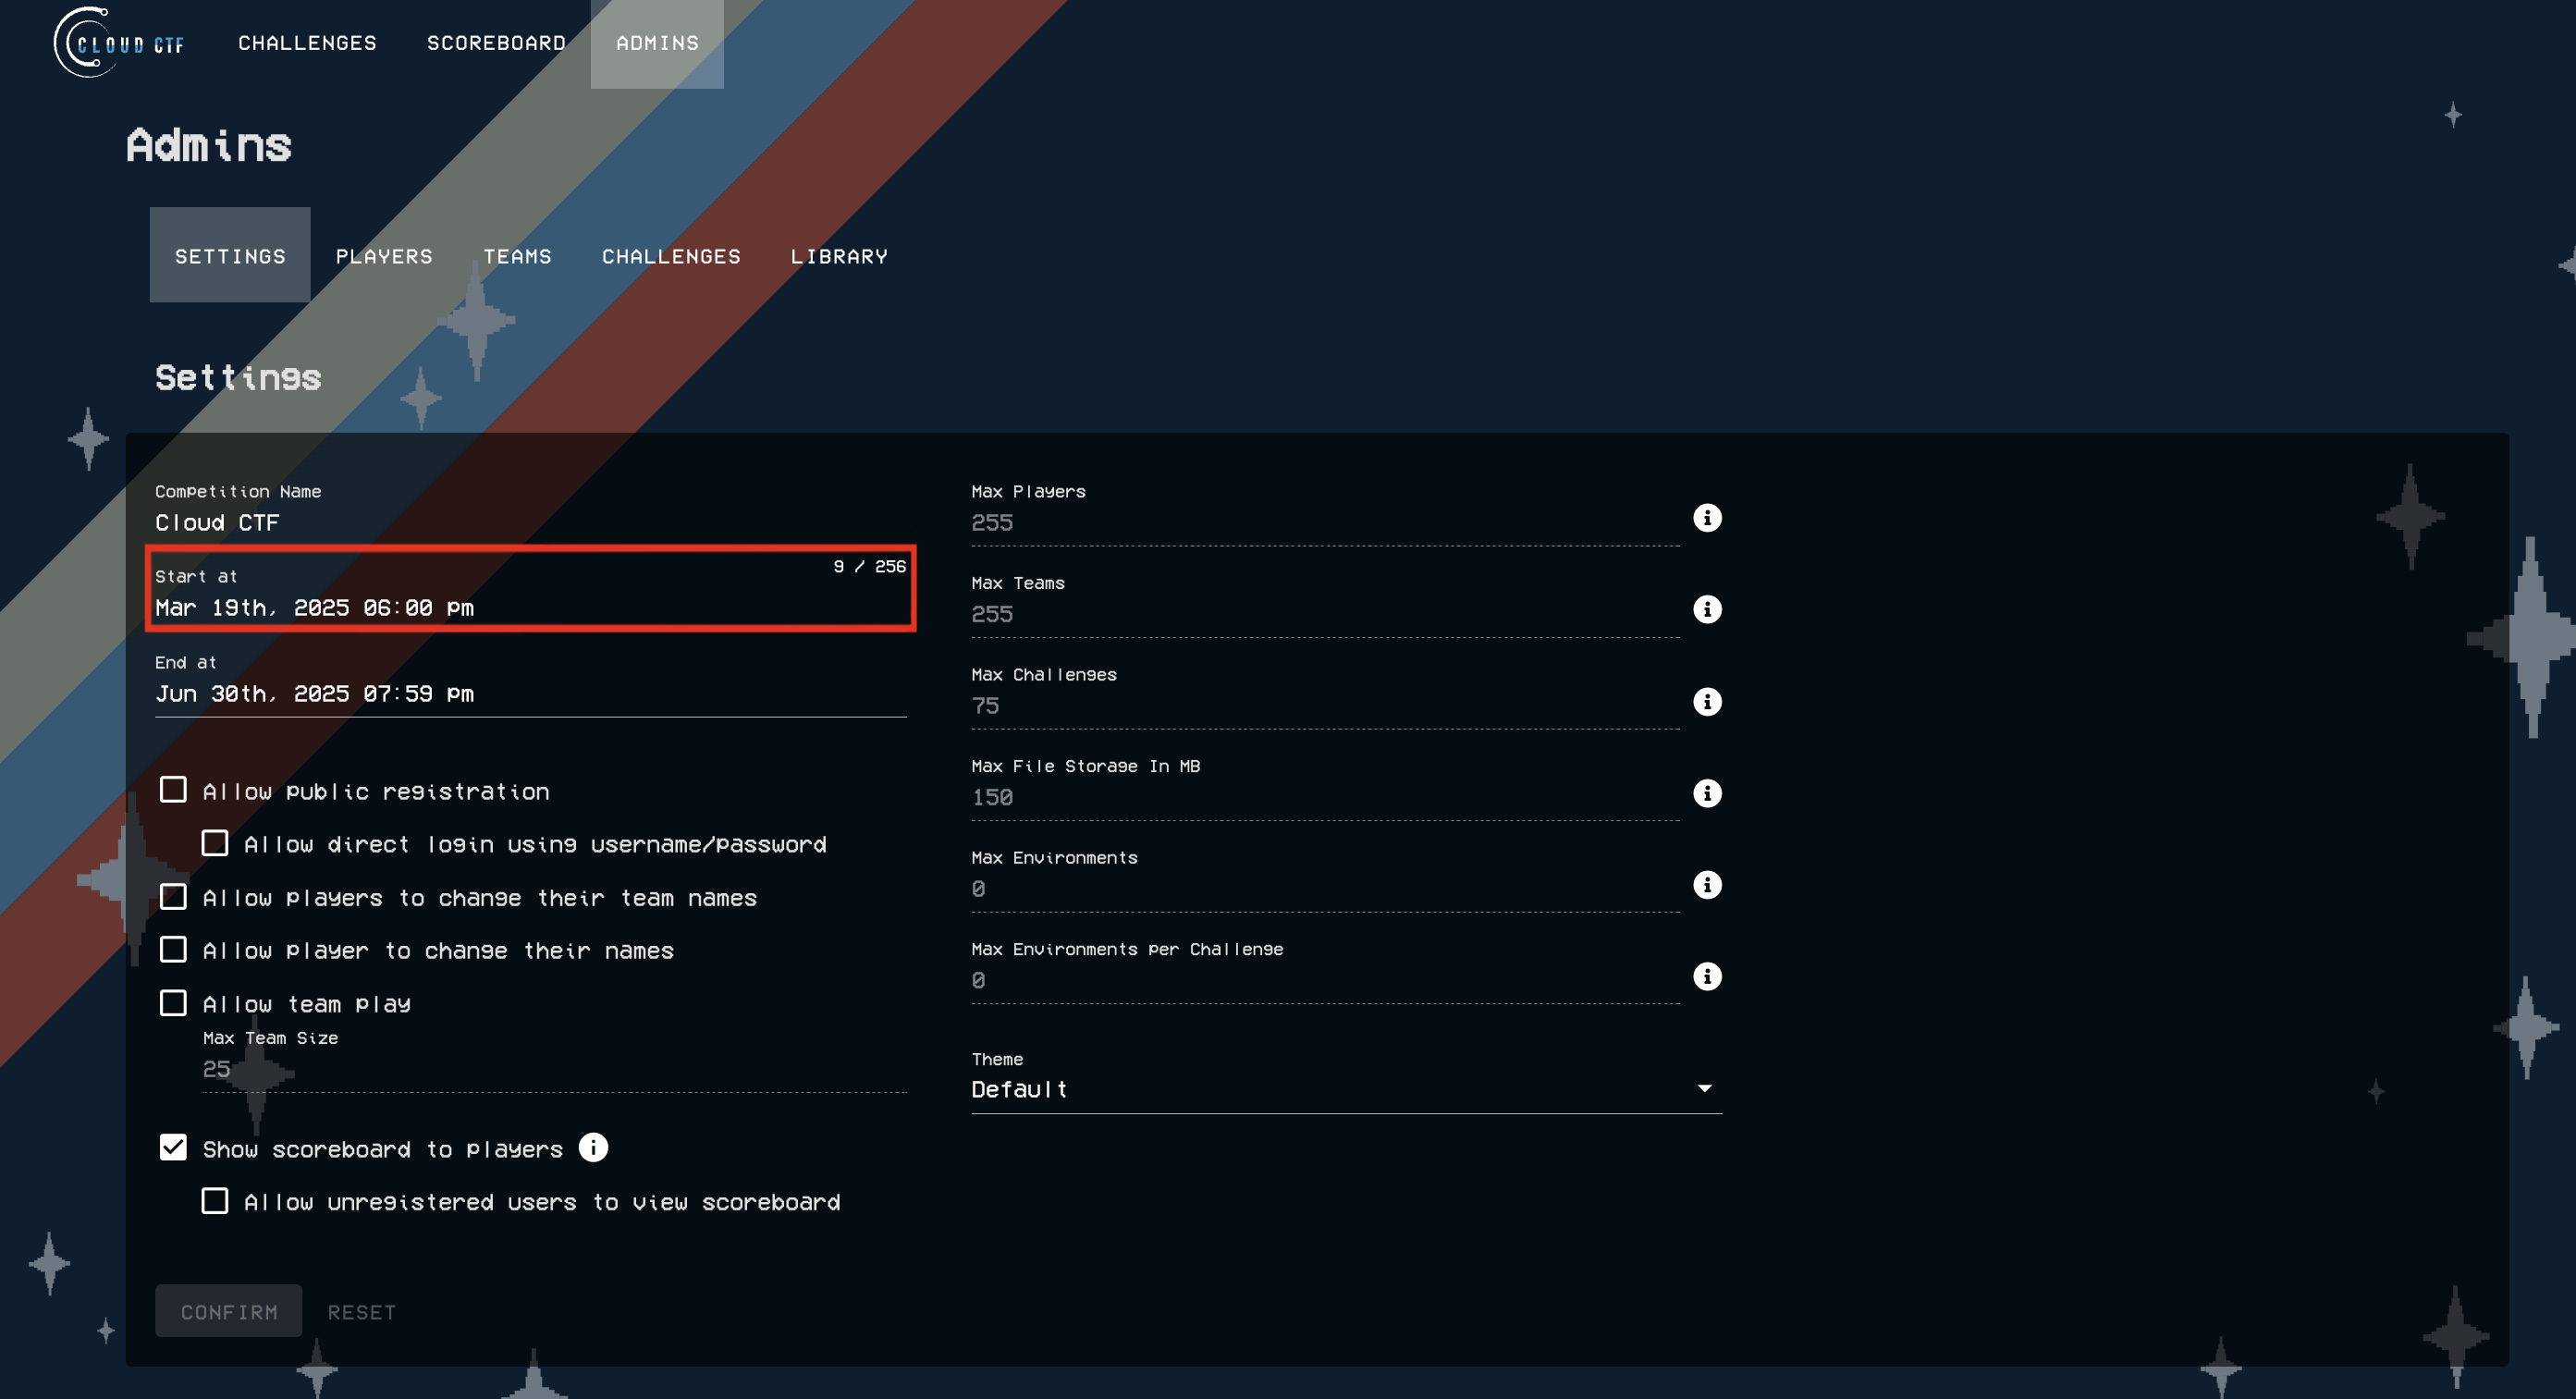
Next, click on the Start Time field to open a window that will allow you to choose your Cloud CTF start time.
-
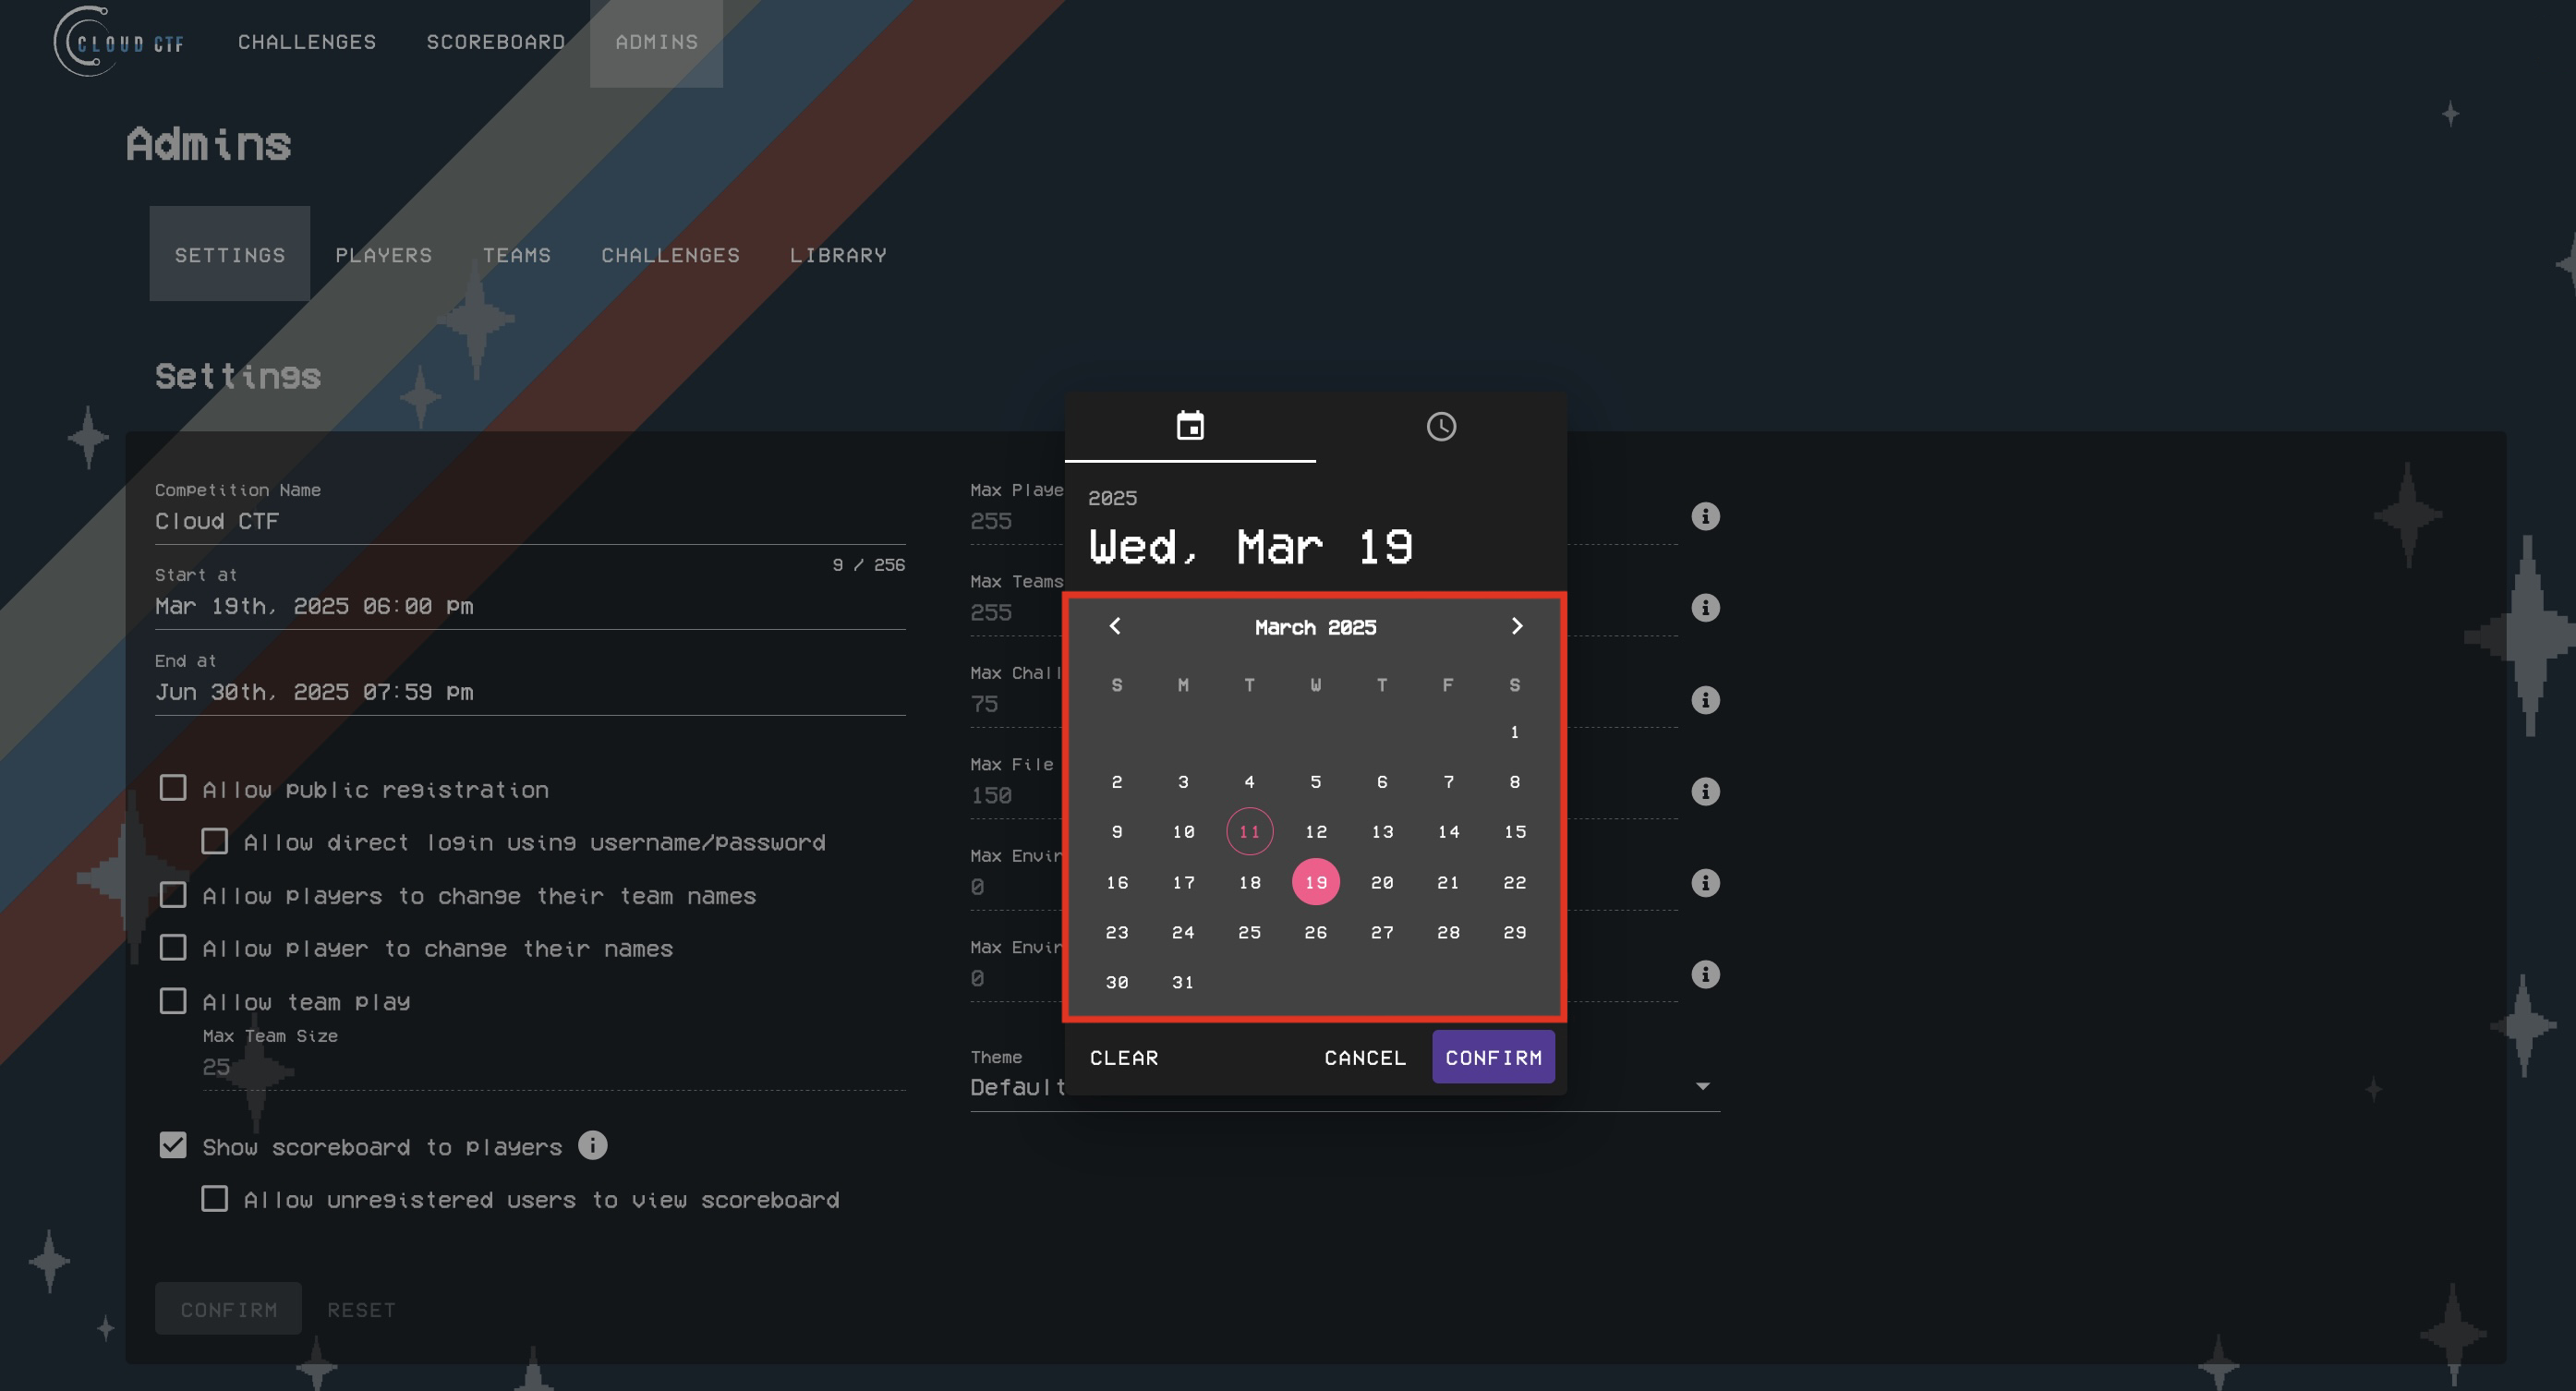
Please select the month, year, and day to start your CTF. After selecting your start day, choose the hour to start your CTF.
-
Once you have selected a start time, repeat the process for selecting an end time by clicking on the date picker field as shown in the image below.
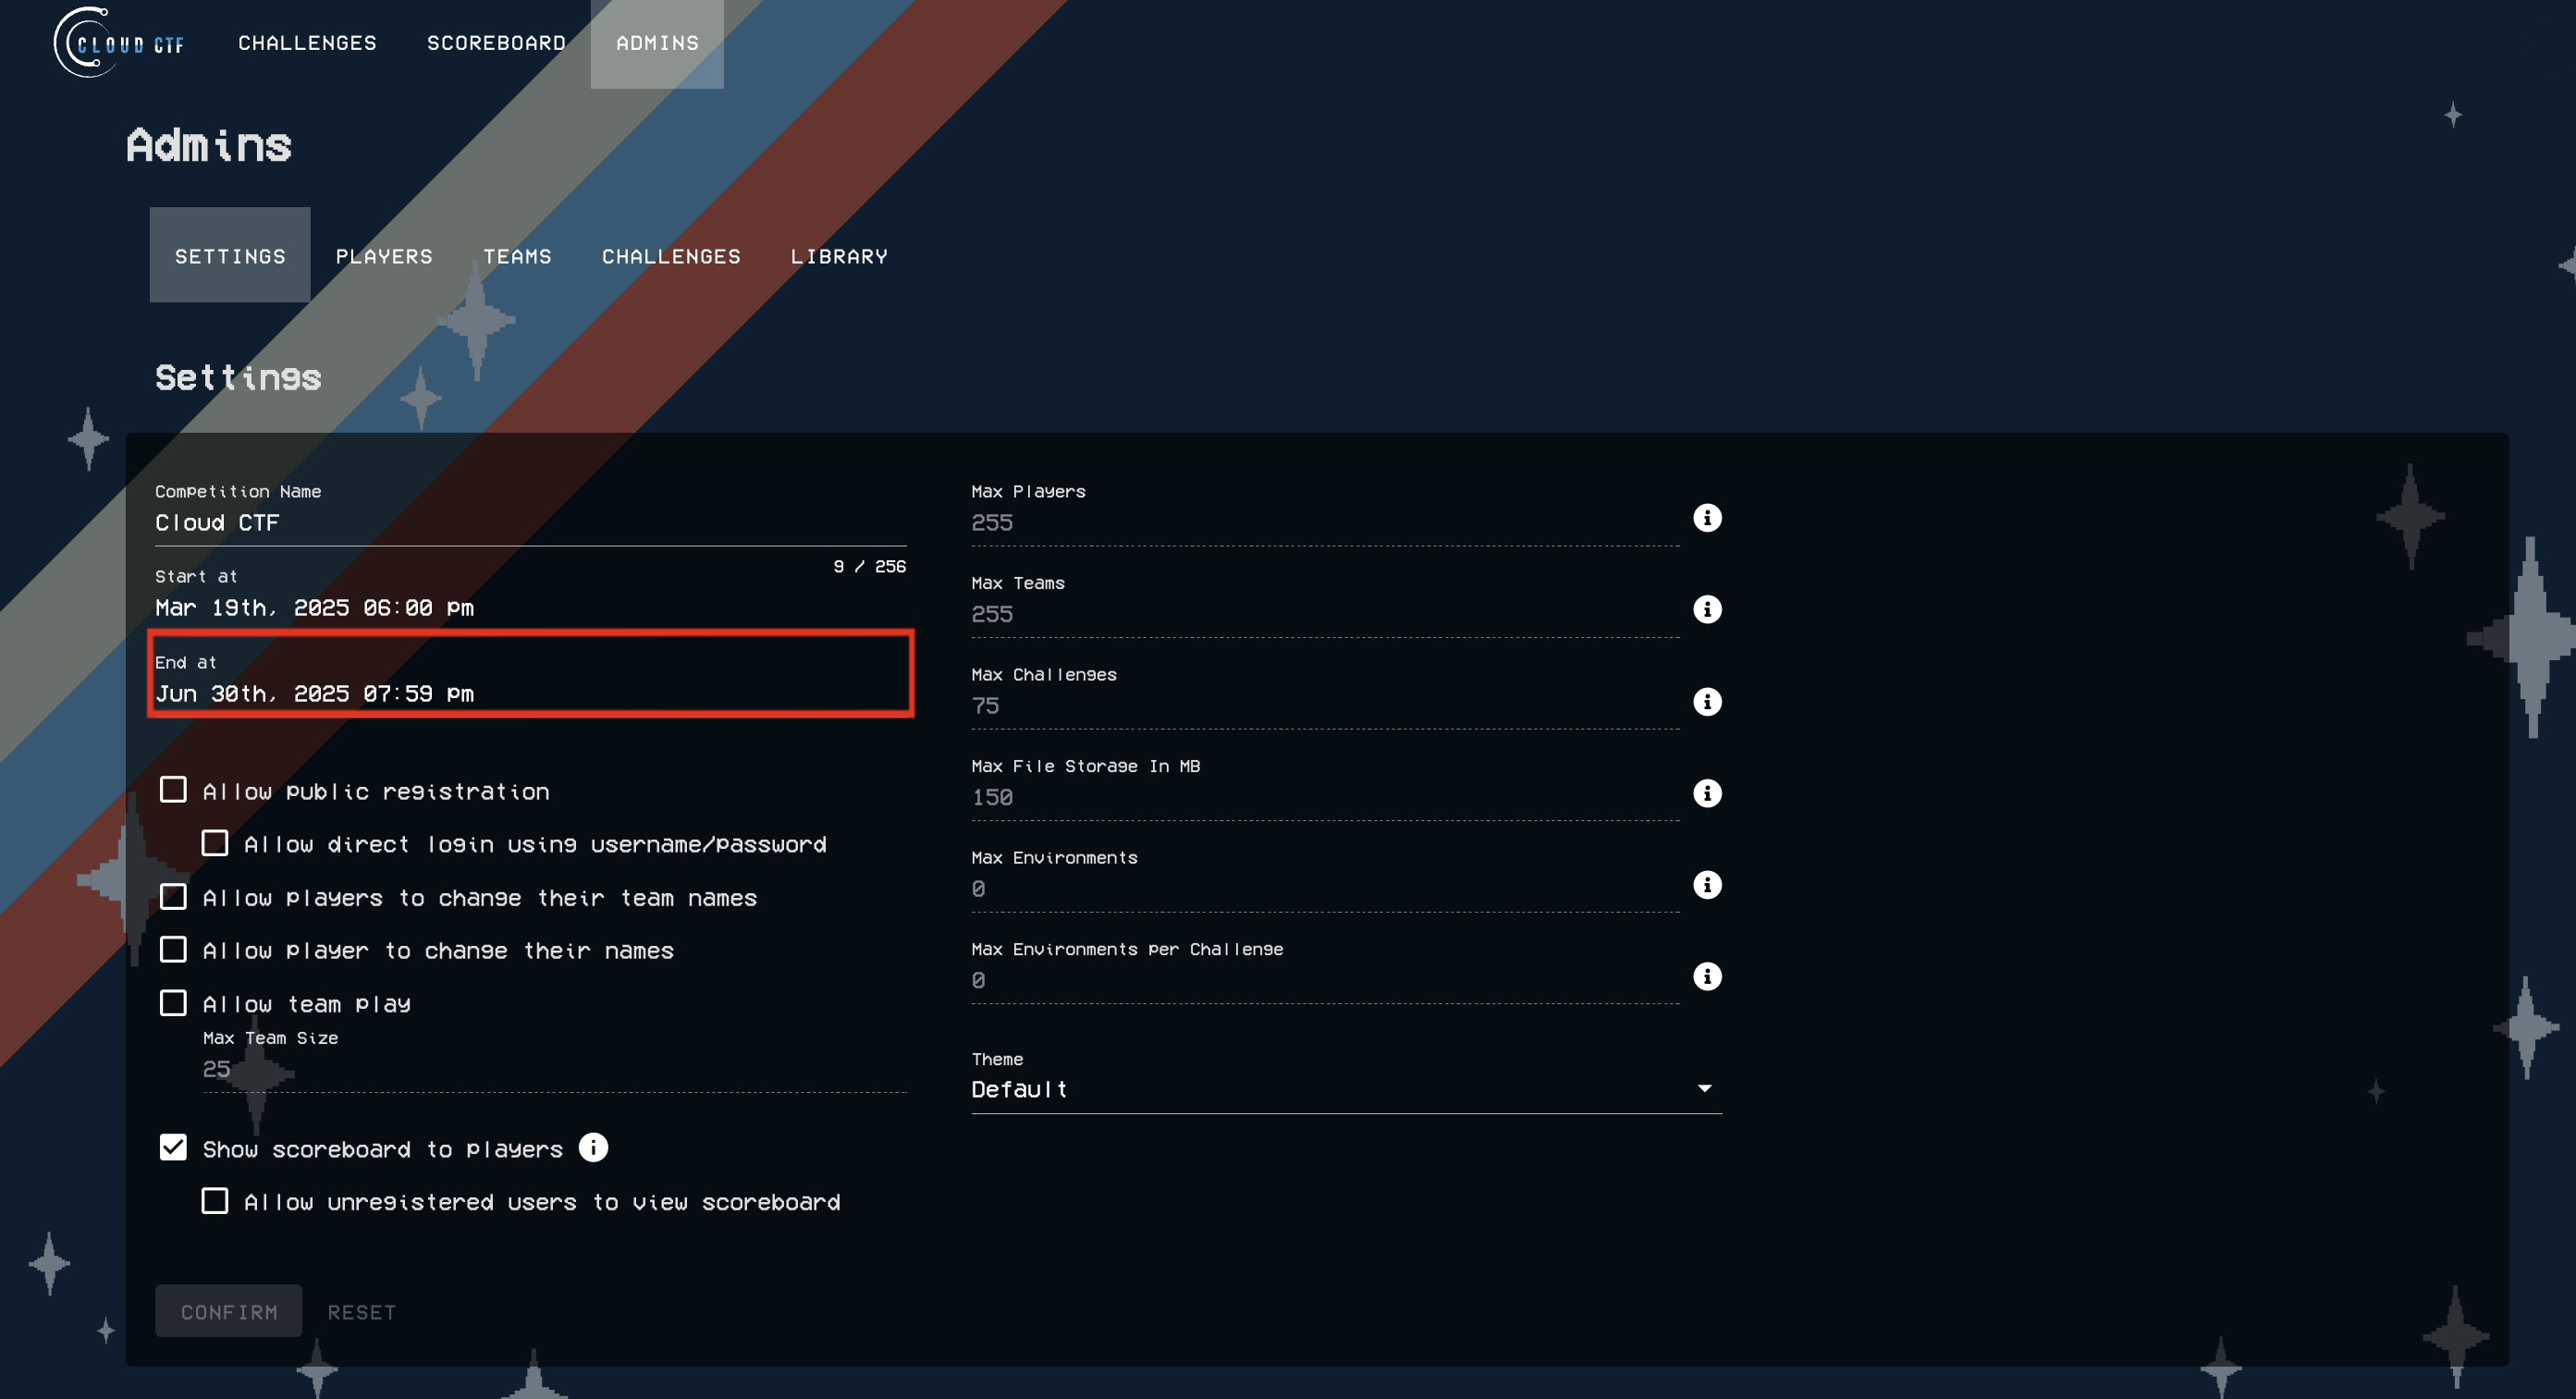
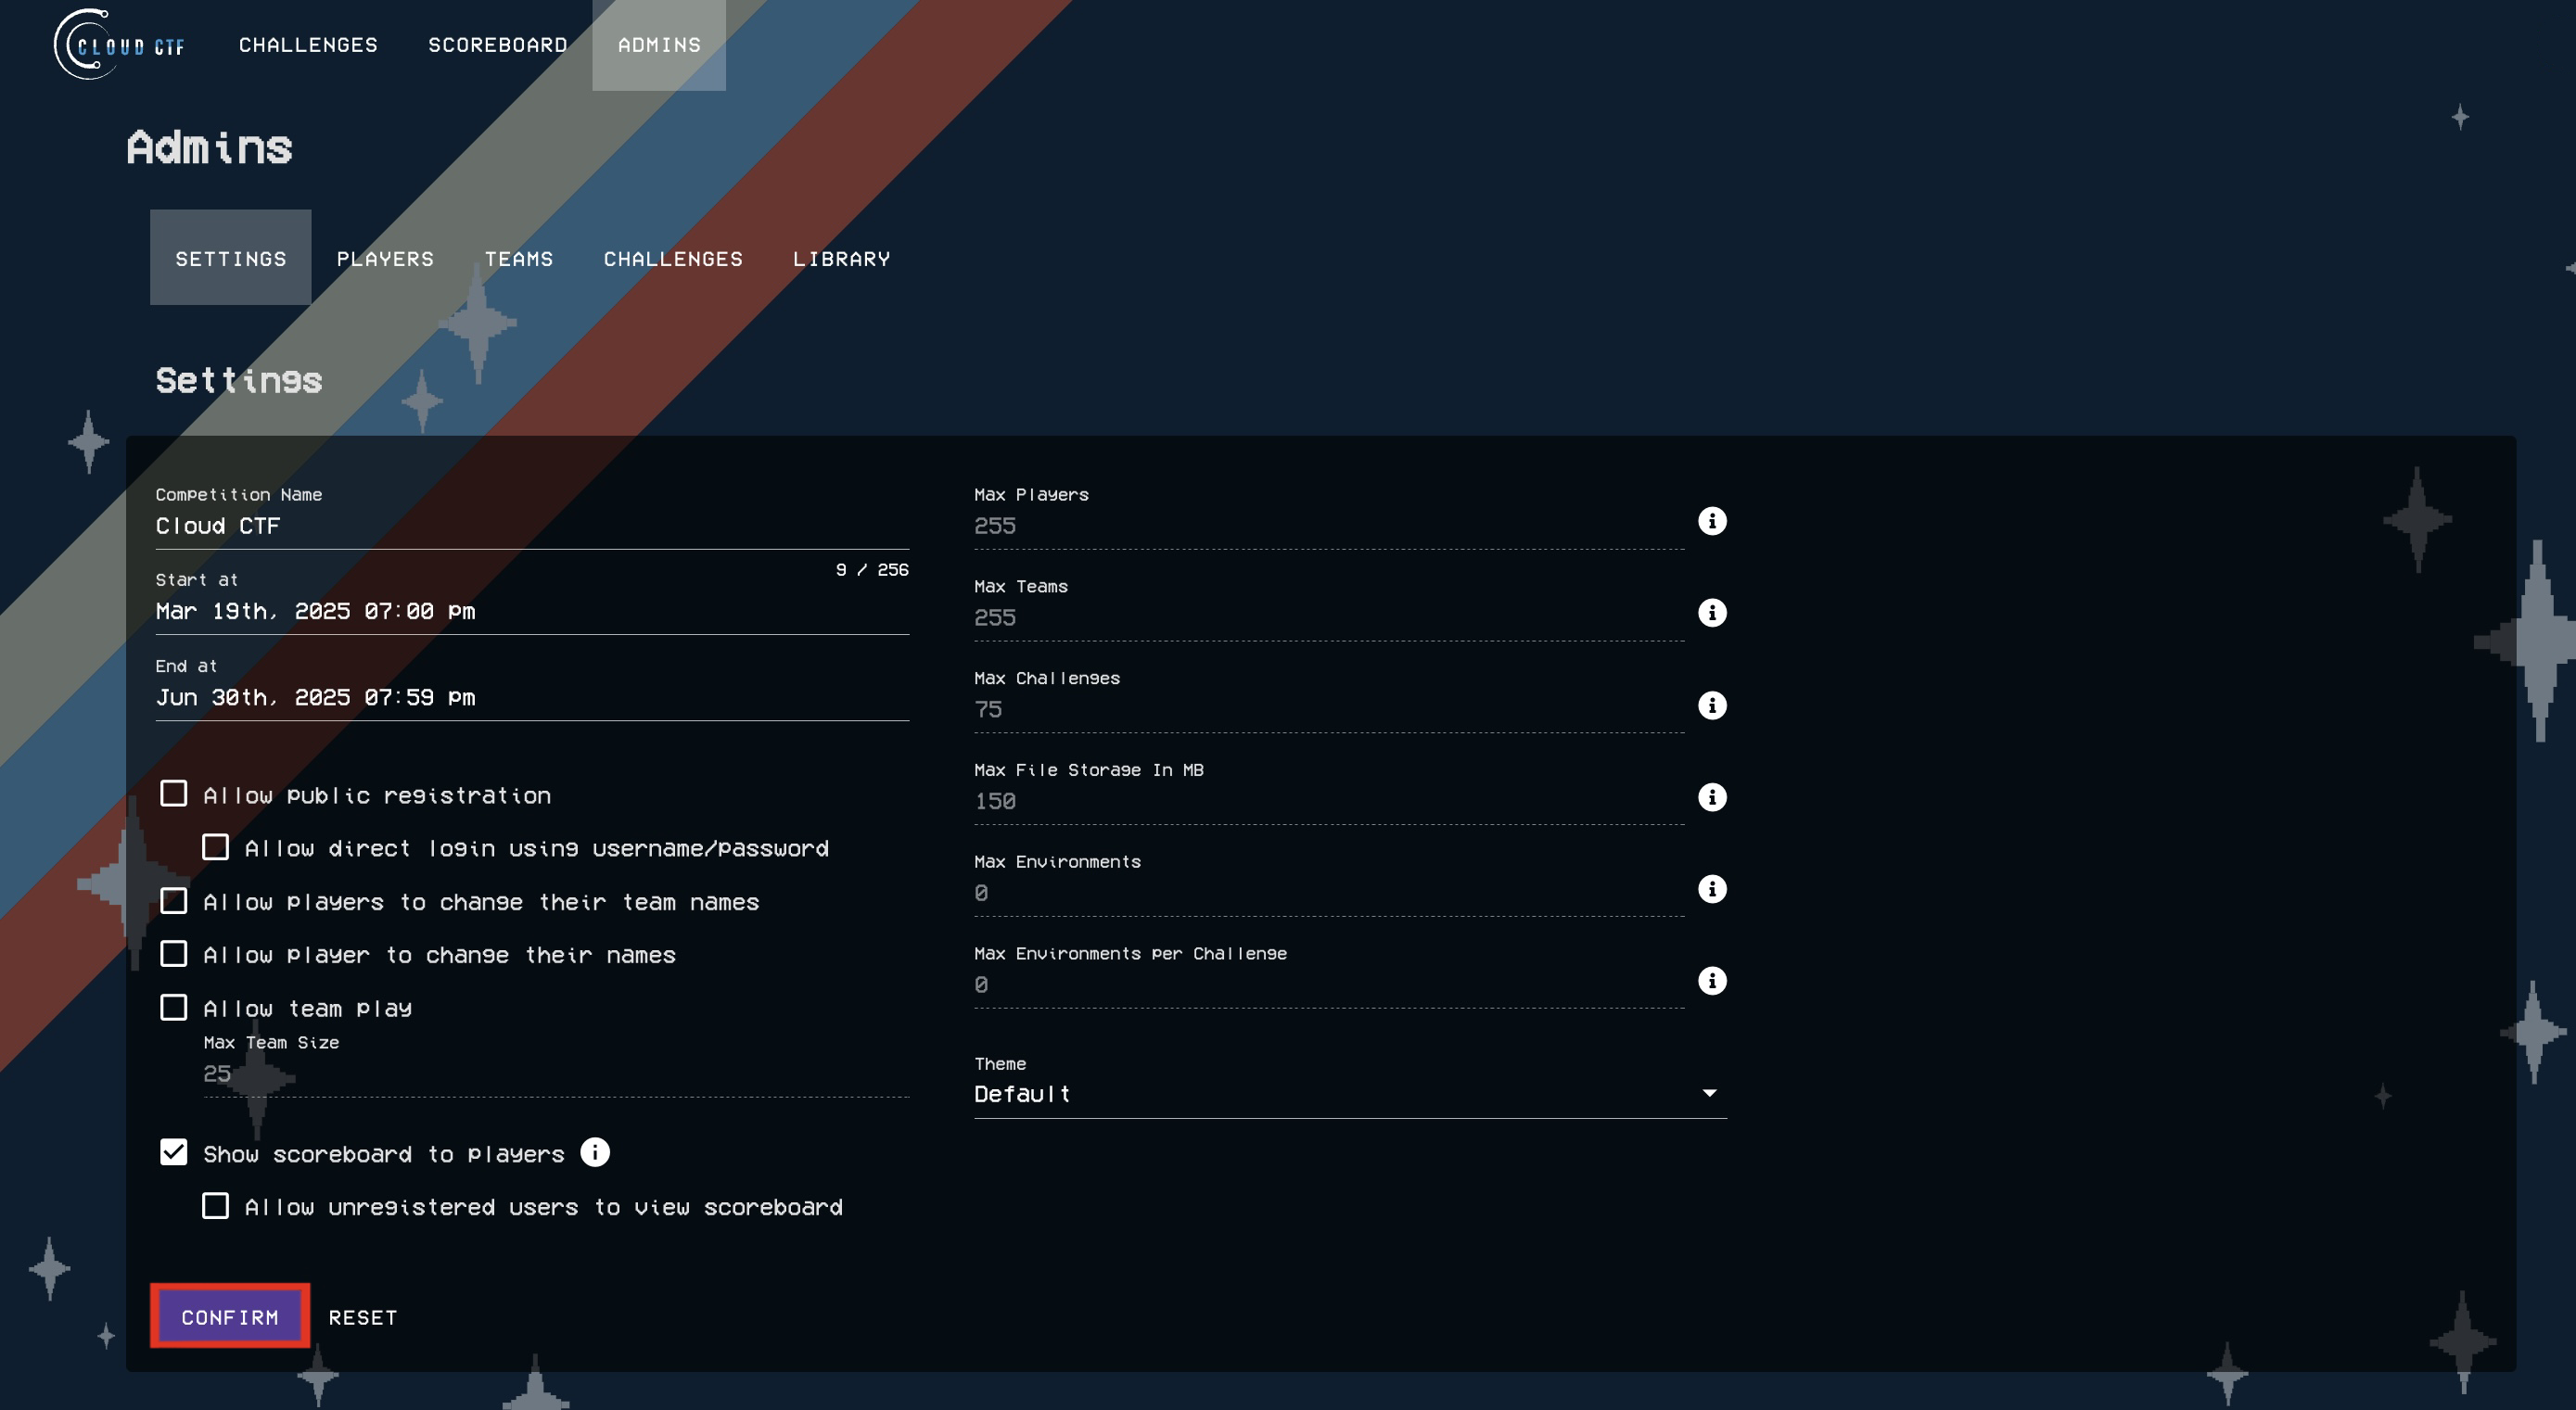
-
To save your Cloud CTF start and end times, click on Confirm at the bottom of the settings page. After clicking on Confirm, your CTF start and end times will be saved.
More Information About Cloud CTF
For more information about the features Cloud CTF has to offer, please refer to the article titled Cloud CTF Overview.
Have a Question? Contact Support
If you experience any issues starting or viewing Cloud CTF in your web browser, please refer to the article titled Can't Launch Cloud CTF for helpful tips on resolving the matter.
We're here to help you. If you still have questions after reviewing the information above, please feel free to submit a ticket with our Support Team and we'll get back to you as soon as possible.
Thank You for Your Feedback!